
35 Christmas Staircase Decor Ideas for a Festive Home
The staircase is the one part of the house every guest walks through and almost nobody decorates on purpose, yet a banister is a ready-made frame for garlands — and these 35 christmas staircase decor ideas, in five groups with a styling tip each, follow one golden rule: decorate around the walking, never across it.
Banister Garlands: The Main Event
1. The Full and Lush Garland: Greenery in Deep Swags
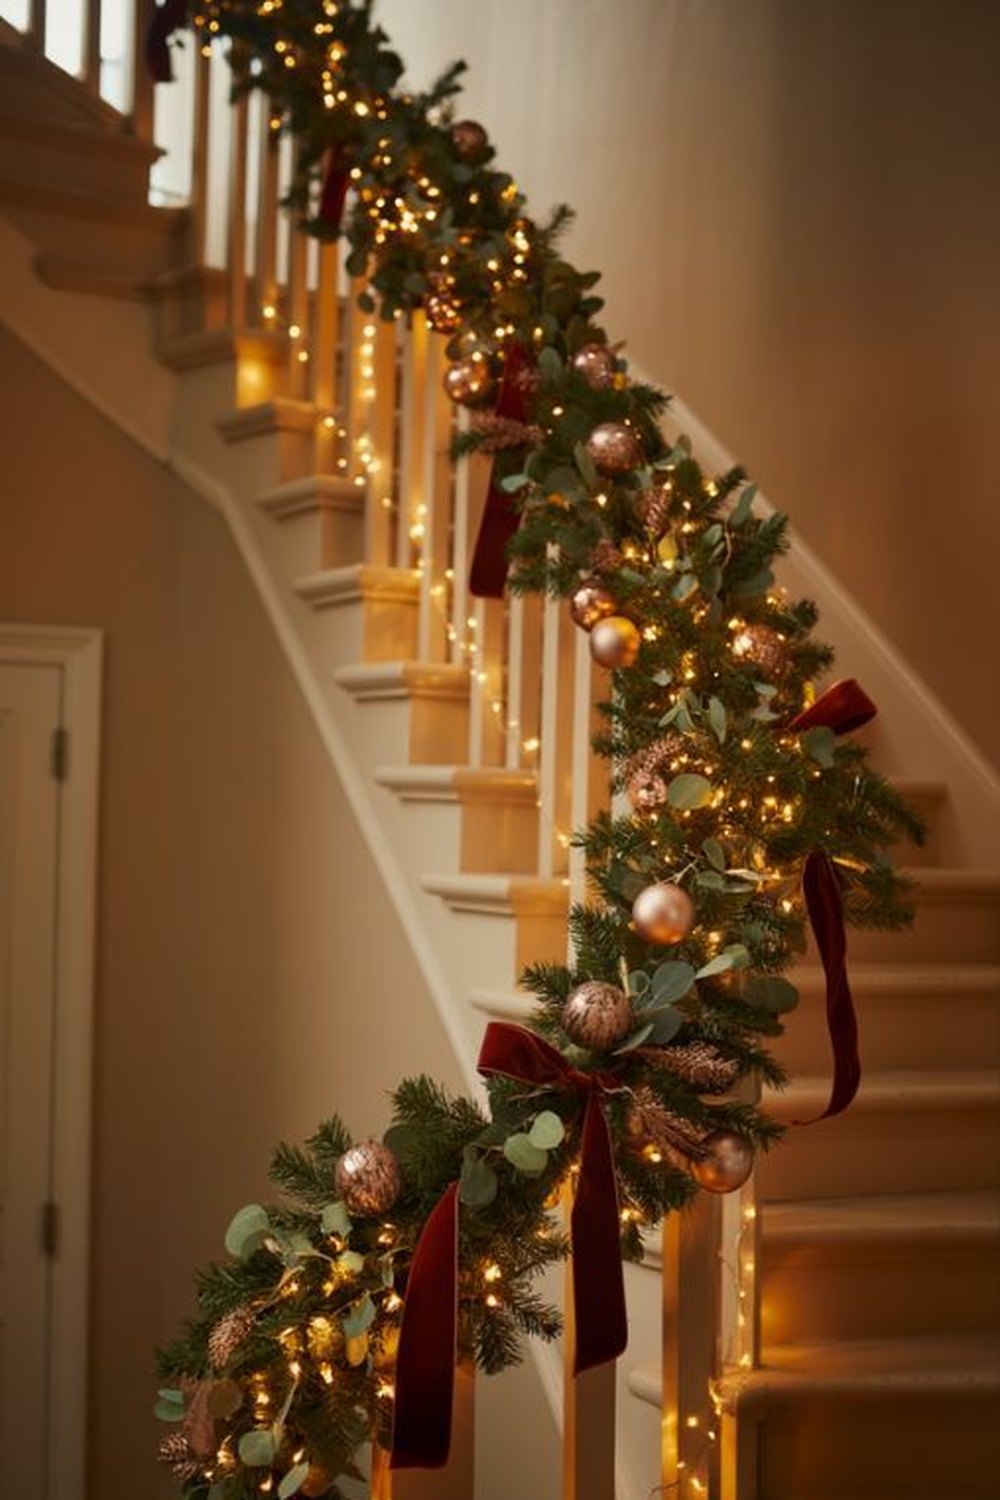
The classic showpiece — thick greenery falling in generous swags from post to post.
Start with the look everyone pictures: a full, bushy garland of fir, pine and cedar draped along the banister in deep, even swags, each dip low and generous. Layer two garlands together if yours are slim — one plain, one pre-lit — and fluff every branch outward so the greenery reads as one continuous, abundant line from the newel post to the landing. This is the staircase as the cover of a Christmas magazine.
Styling tip: fix the garland to the outer face and underside of the handrail with soft ties or floral wire at every spindle cluster, keeping the top of the rail completely bare. A hand should be able to slide along the whole rail without once meeting a branch.
2. The Slim Line: One Fine Garland, Neatly Wound
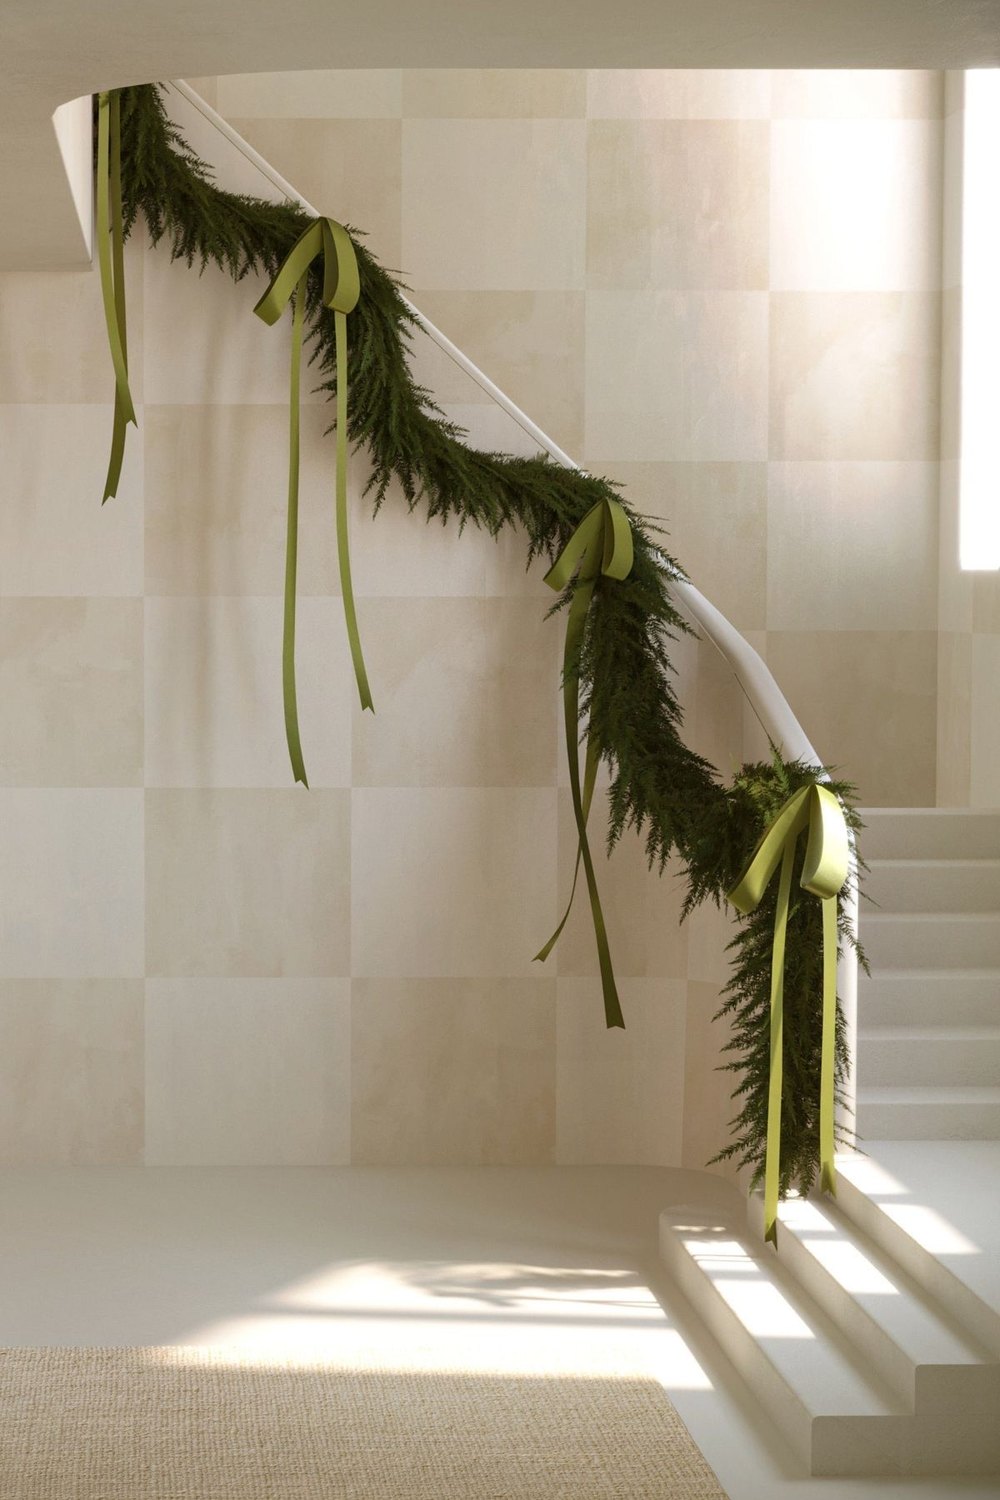
For narrow stairs and modern rails — one slender garland, spiralled with precision.
Not every staircase wants abundance. On a narrow flight or a sleek modern rail, wind a single slim garland in an even spiral from bottom to top, each loop the same distance apart, and let that clean rhythm be the decoration. Eucalyptus or fine pine works best — greenery with small leaves keeps the line crisp rather than bushy.
Styling tip: wind the spiral underneath and around the rail rather than over the top wherever you can, and secure each loop so nothing sags into hand height. Measure your loops against the spindles — one loop per two spindles keeps the spacing honest all the way up.
3. The Flocked Garland: A Snowfall on the Banister
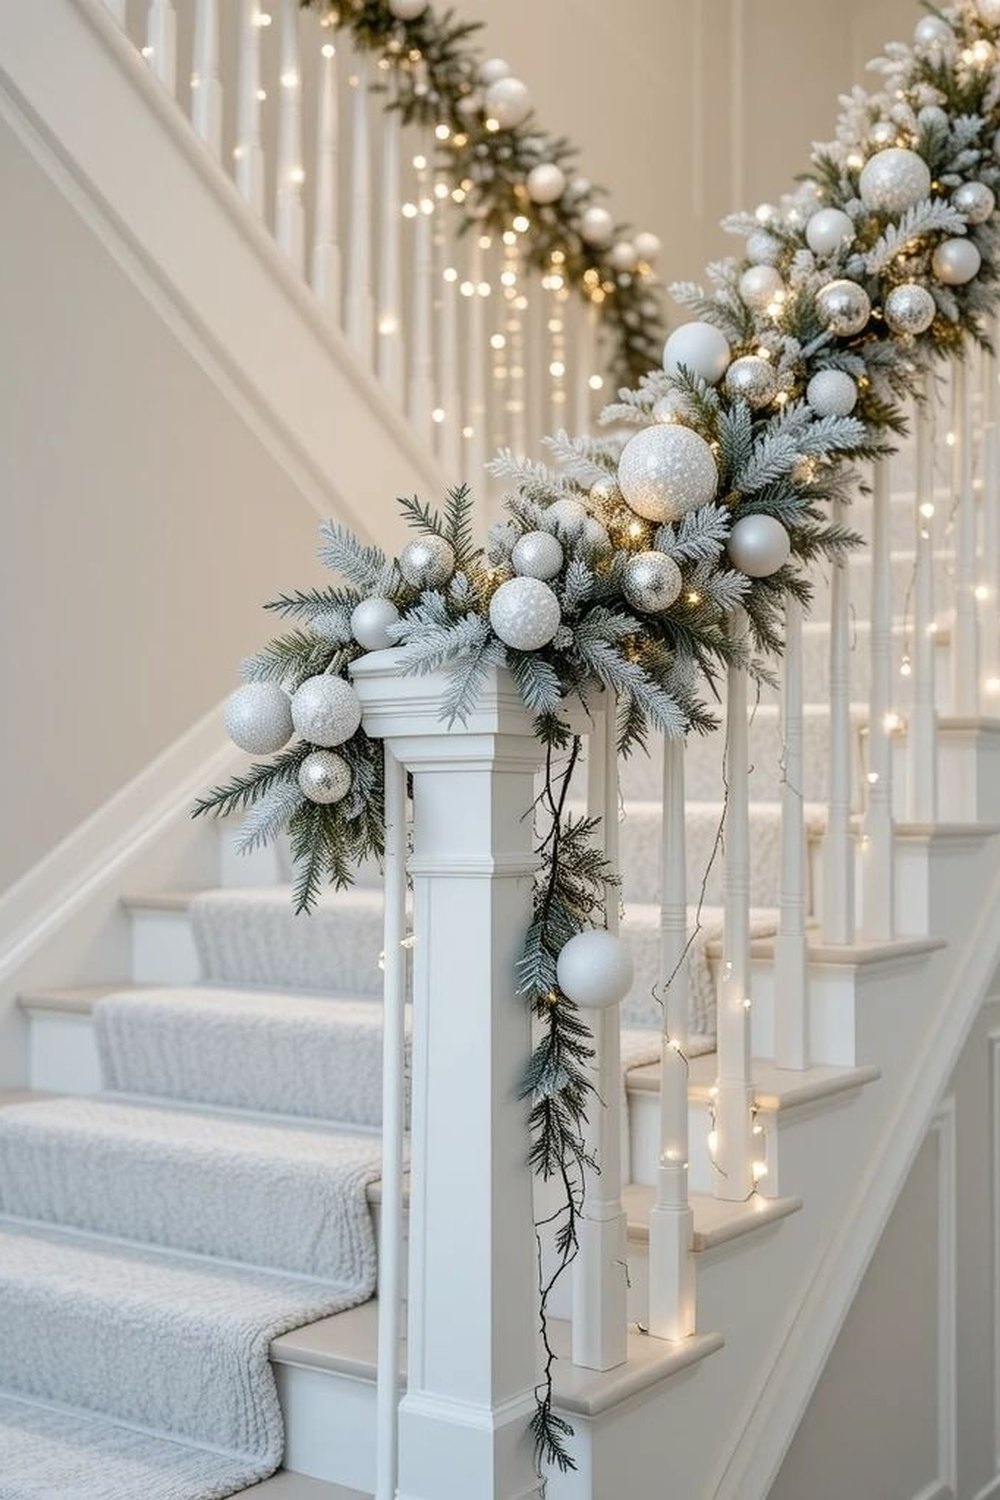
Frosted branches turn the staircase into a winter scene the moment you walk in.
A flocked garland — greenery dusted with fake snow — gives the stairs the winter-wonderland feeling without a single extra ornament. Dress it in white and cream only: matte baubles, a cream ribbon, warm white lights. Against a pale hallway wall the frosted green is soft and bright; against dark wood it glows like fresh snowfall at dusk.
Styling tip: flocking sheds, so give the garland a good shake outdoors before it comes inside, and keep its swags clear of the treads — the one place you never want snowy dust is underfoot. Vacuum the bottom steps once after hanging and it will behave for the season.
4. Velvet Bows at Every Swag: The Bow-Tied Garland
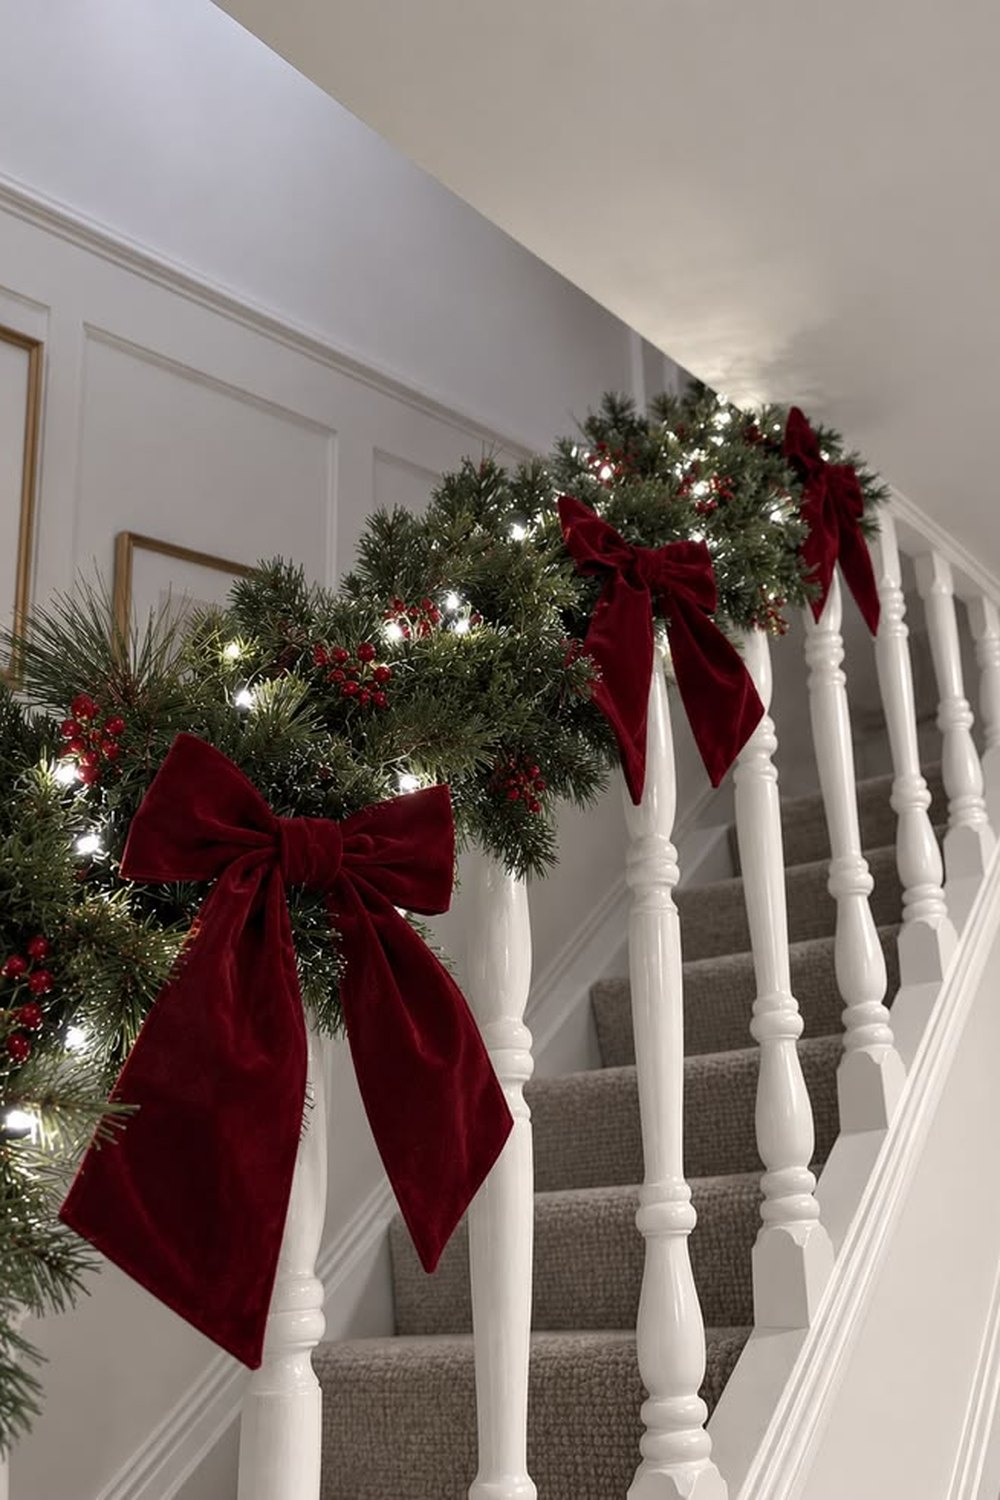
A bow where each swag is caught turns a plain garland into a tailored one.
Hang a simple green garland in swags, then tie one large velvet bow at every point where the garland is fixed to the rail. The bows mark the rhythm of the swags, hide the ties and fixings completely, and bring in the season's favourite fabric in its richest form. Deep red is the classic; burgundy, forest green and champagne all work on the same principle.
Styling tip: make the bows in one batch, all the same size with tails cut to the same length, and wire them on rather than tying them in place. Identical bows are what make the staircase look professionally dressed rather than enthusiastically decorated.
5. Baubles in the Greenery: Ornaments Woven Through
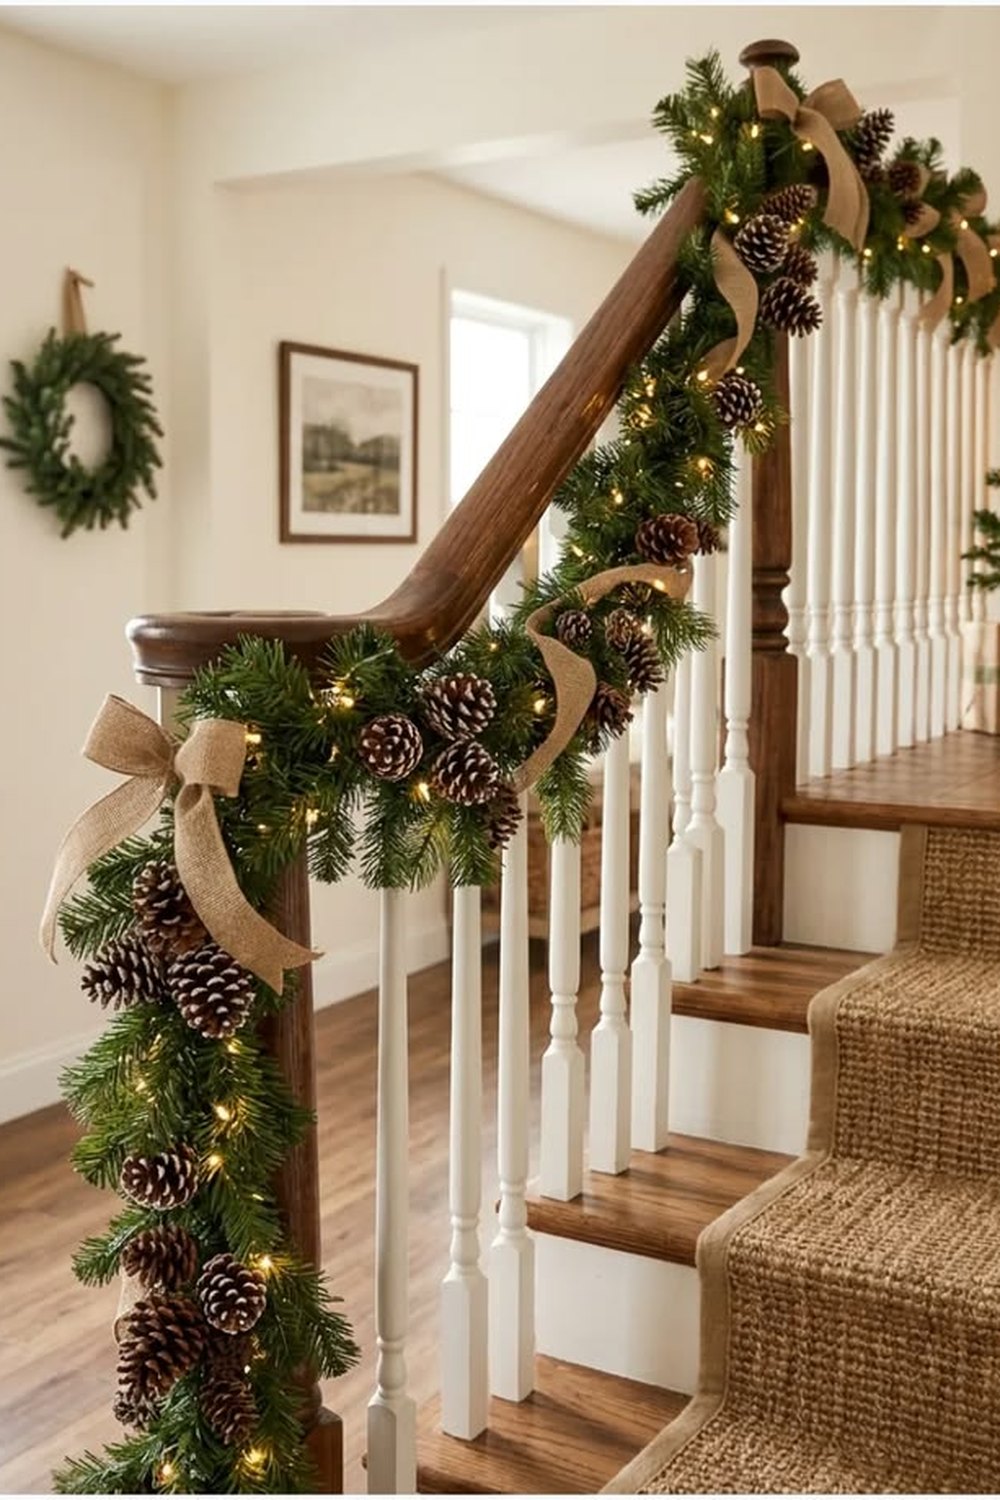
The garland becomes the tree's taller cousin — decorated, not just green.
Take your banister garland and dress it like a tree: baubles wired deep into the branches, pinecones and berry picks tucked between them, a strand of wooden beads or ribbon running through. Keep the decorations in the garland's own colour story — all gold, or red and gold, or silver and white — and step the sizes down from large at the newel post to small at the top of the flight.
Styling tip: wire every bauble on, never just rest it in the branches — a staircase vibrates with every footstep, and unwired ornaments migrate and fall. Use shatterproof baubles on the lower swags where hands and bags pass closest.
6. Lights in the Garland: Battery Glow, No Cables
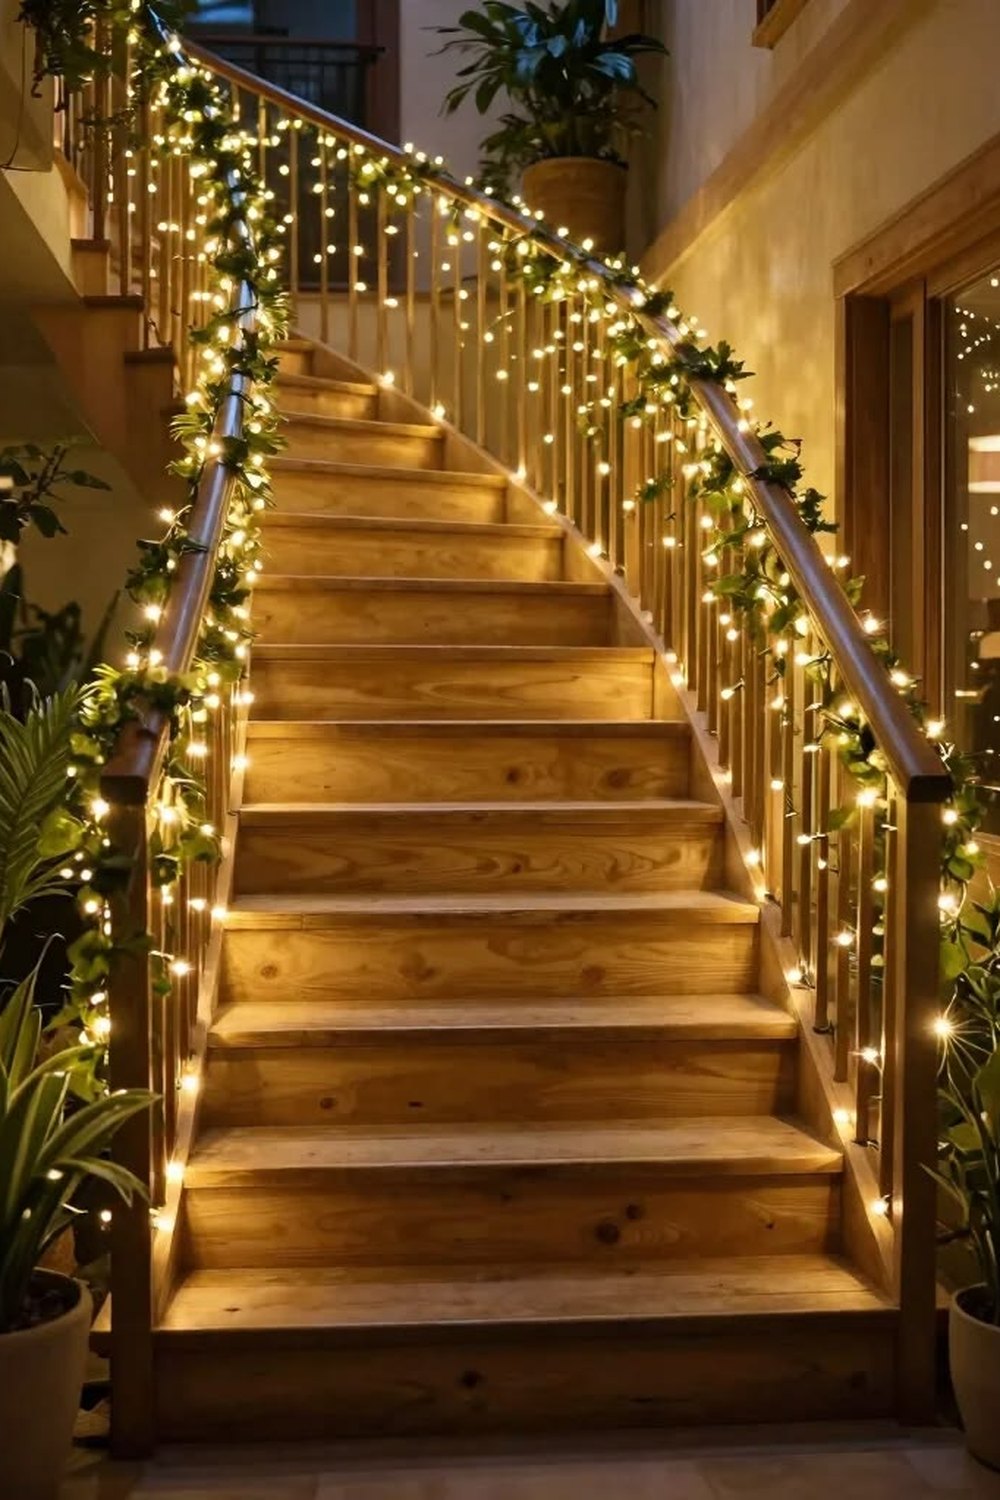
A lit staircase at dusk is pure atmosphere — battery lights make it effortless.
Weave one or two strands of warm white battery fairy lights through the garland before you hang it, hiding each battery pack inside the fullest part of a swag. Put them on timer mode and the staircase lights itself every evening as the house darkens — no cable crossing a step, no socket hunted for, no trailing wire anywhere near feet.
Styling tip: weave the lights deep, not just along the surface, so the glow comes from inside the greenery. And keep the packs reachable at the back of the swag — you will want them for the January battery harvest without dismantling the whole garland.
7. Eucalyptus and Herbs: The Fragrant Natural Garland
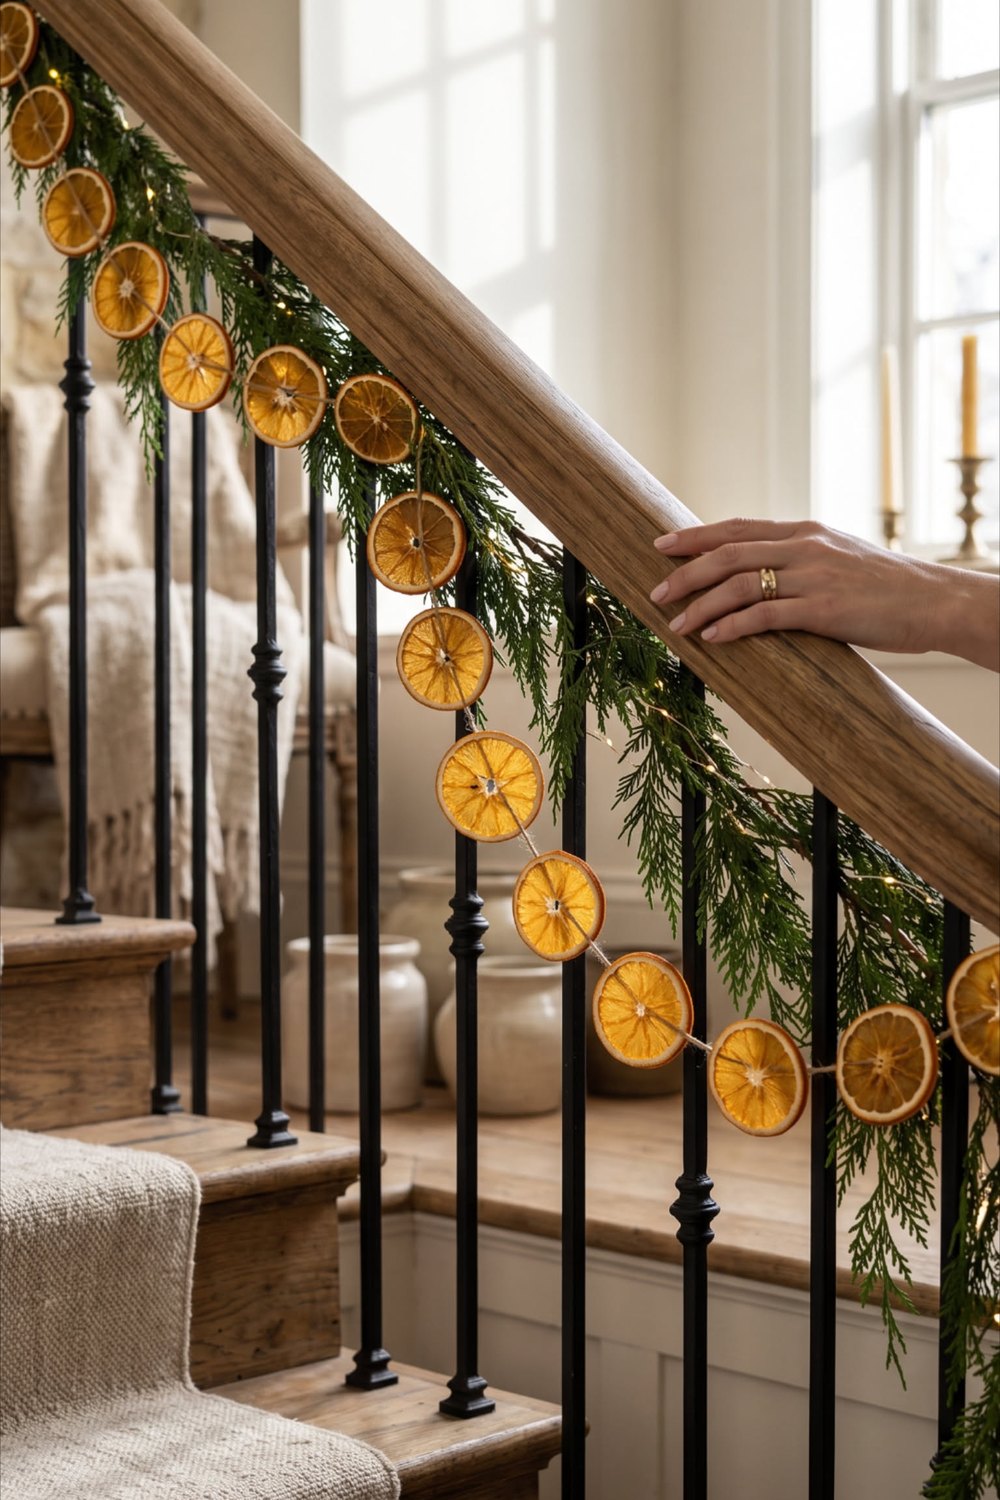
Silver-green leaves, rosemary and dried oranges — the garland that scents the whole hallway.
Build or buy a garland of eucalyptus mixed with fir, then wire in extras from the kitchen and garden: rosemary sprigs, dried orange slices, cinnamon bundles tied with twine. The palette is soft silver-green and spice brown, the scent rises up the stairwell all day, and the whole thing feels gathered rather than bought.
Styling tip: fresh eucalyptus and herbs dry in place over a week or two and keep their shape beautifully, but hang this garland on the banister's outer face only — drying leaves can drop, and the treads must stay leaf-free and grippy underfoot.
Steps, Lanterns & Safe Light
8. Lanterns on the Steps: A Lit Path Upstairs
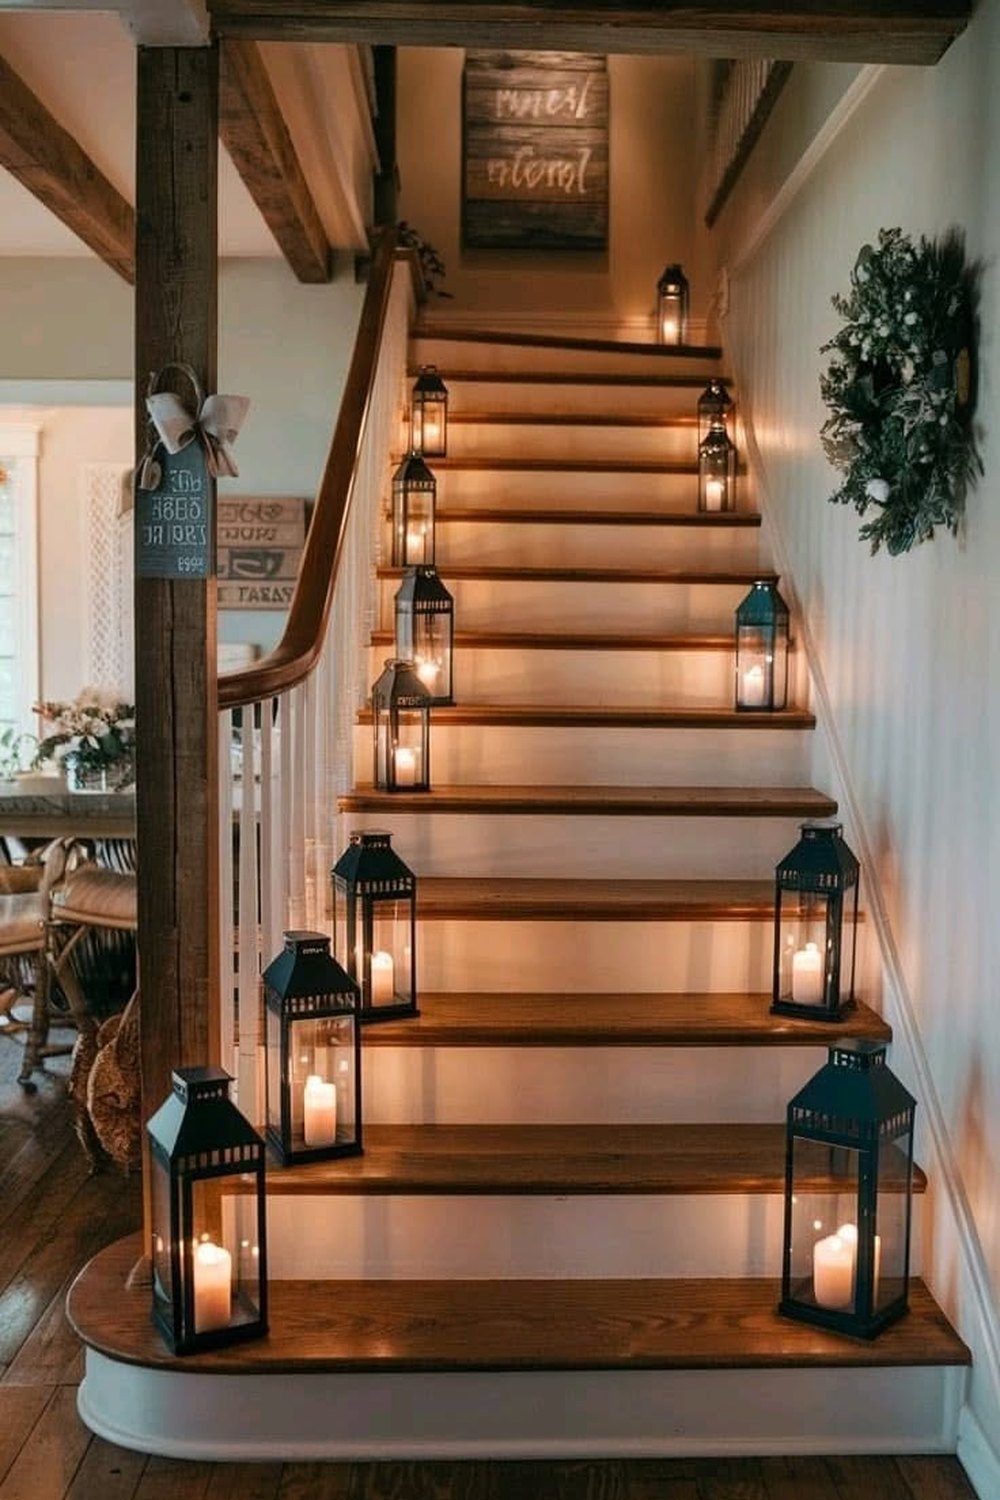
A lantern on every other step, each one flameless — the fairytale path, done safely.
On a wide staircase, stand a lantern on every second or third step, tight against the wall or balustrade edge, each holding a flameless candle on a timer. As dusk falls the steps light themselves in a slow dotted line all the way up. It is the single most saved staircase image of the season — and the rule that makes it work is width: the walking path down the middle stays completely, generously clear.
Styling tip: only style steps on a genuinely wide flight, and keep every lantern in the same narrow strip against the edge. If your stairs are standard width, put the lanterns on the floor at the foot and the landing instead — the same glow, zero intrusion.
9. Hurricane Candles: Glass-Held Glow at the Bottom Steps
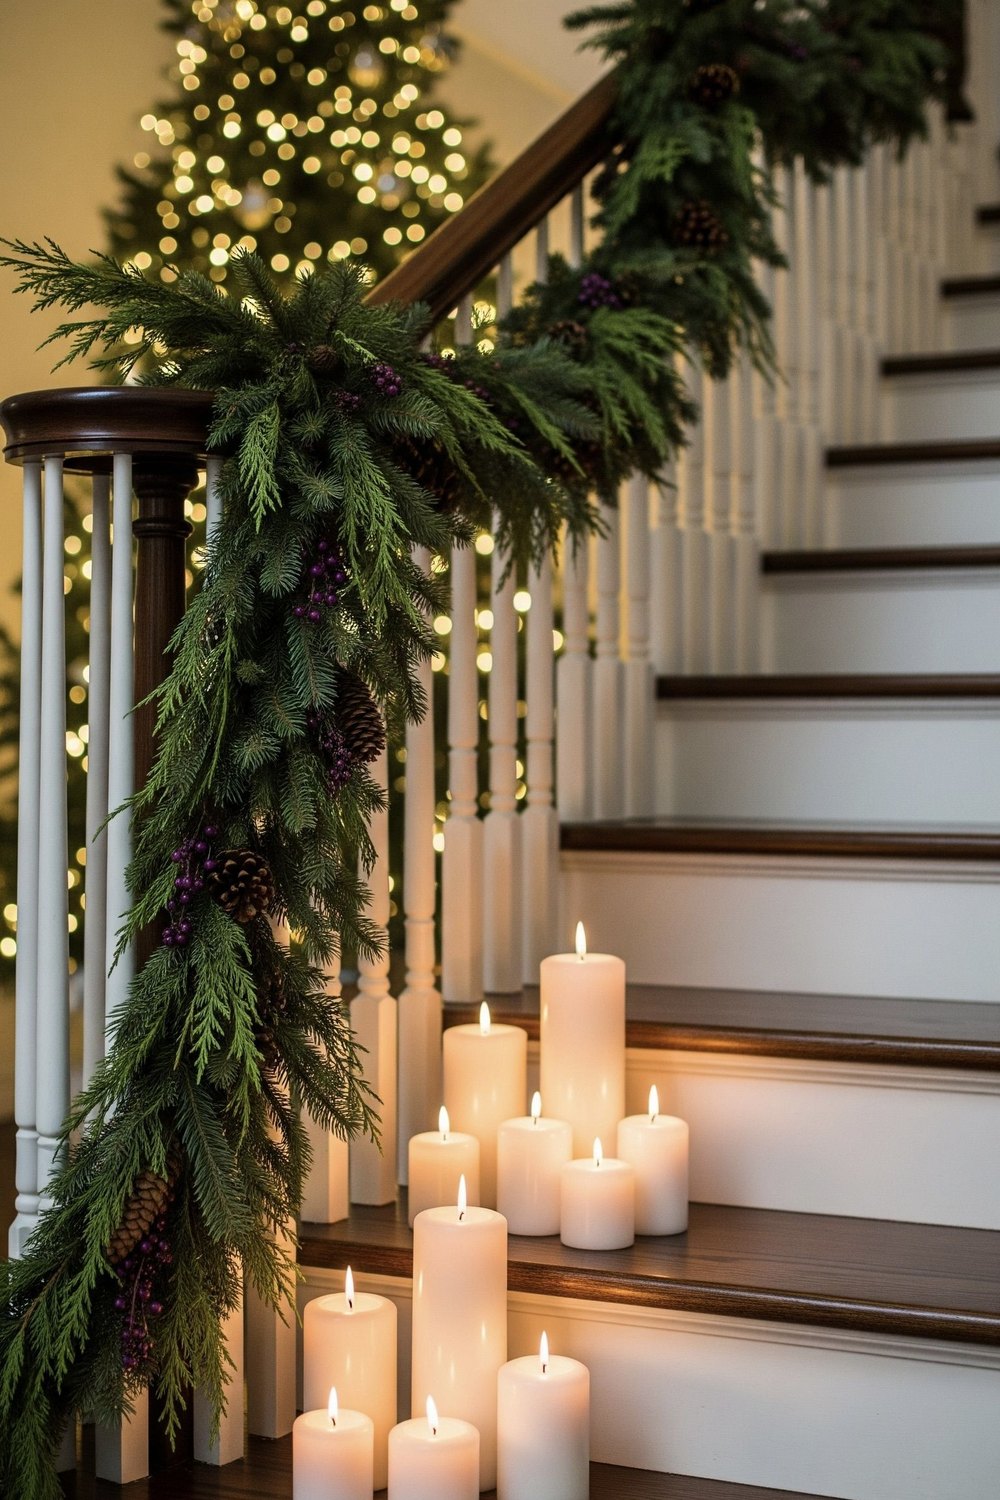
Group the glow instead of spreading it — hurricanes gathered where the stairs begin.
Rather than lining the steps, cluster two or three glass hurricanes of different heights at the foot of the staircase, on the floor or the broad bottom step, with flameless cream pillars inside and a little greenery around their bases. The glass catches and multiplies the light, the cluster anchors the whole garland scheme above it, and nothing at all sits where feet land.
Styling tip: flameless is non-negotiable anywhere on or near stairs — a real flame on a flight is a risk no photograph justifies. Melted-look LED pillars on timers are convincing enough that guests will lean in to check.
10. Mini Trees Marching Up: Pots on Alternating Steps
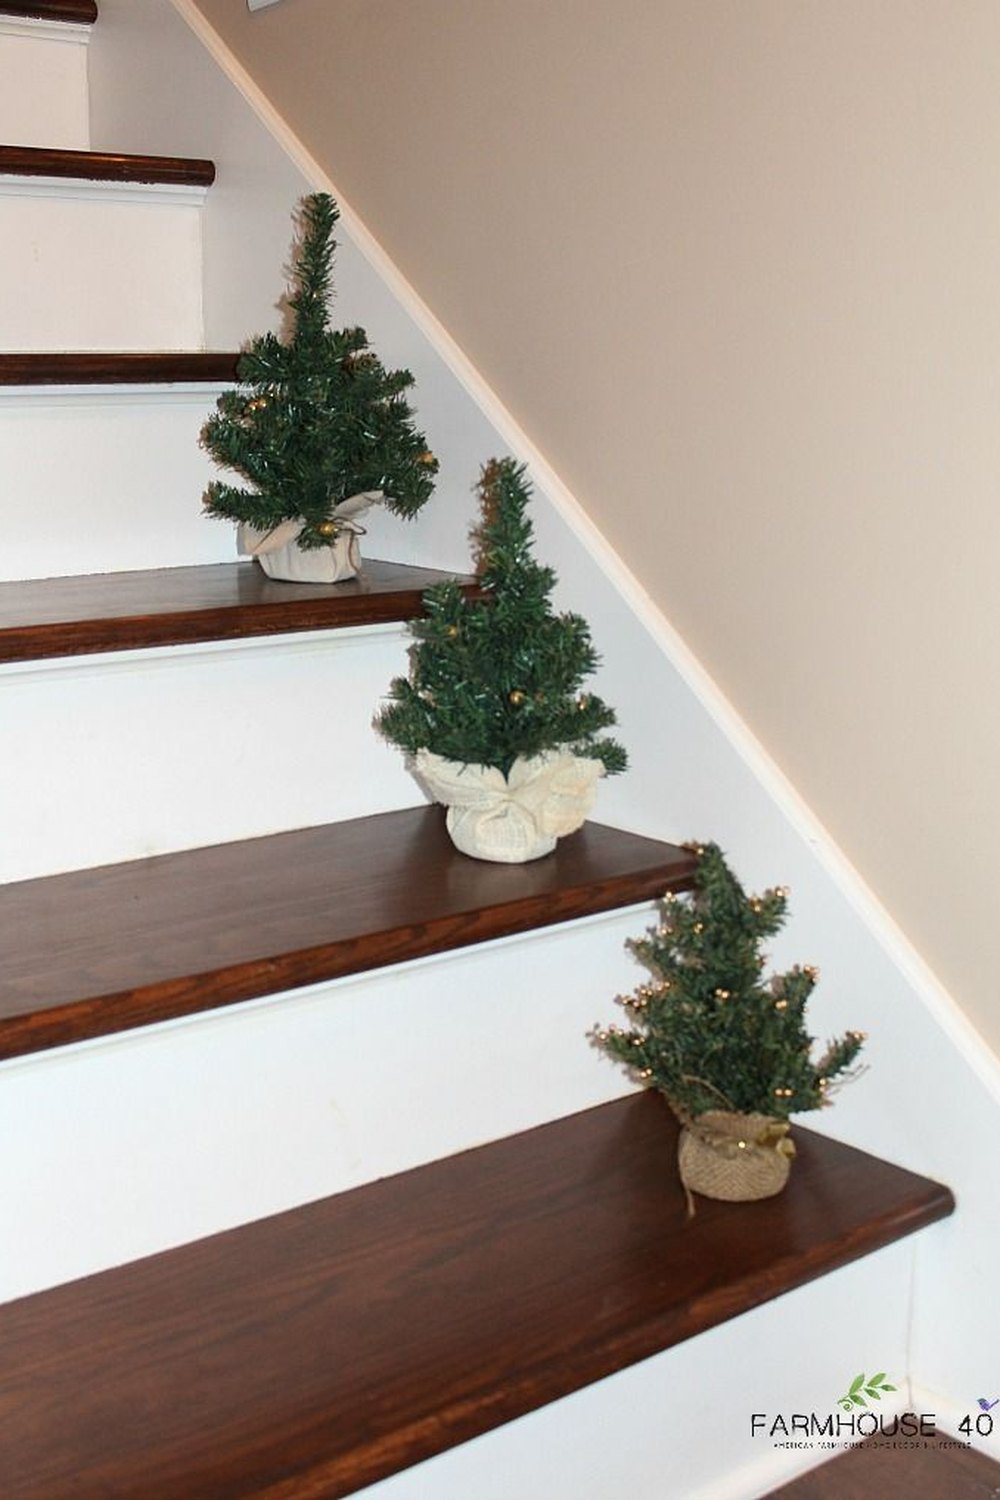
A procession of little trees, each in its pot, climbing the wall side of the flight.
Stand a small potted tree — real miniature fir or a good faux one — on every third step against the wall, wound with a few battery micro-lights or a tiny wooden star on top. The repetition is what makes it: three to five little trees at rising heights read as a deliberate procession, and each one is a small green echo of the big tree in the living room.
Styling tip: use pots with a flat, heavy base and keep them in the wall-side strip so the walking line stays wide and clear. On a narrow staircase, march the trees up the hallway floor against the wall instead and let the garland carry the stairs alone.
11. Baskets at the Foot: Logs, Blankets and Greens
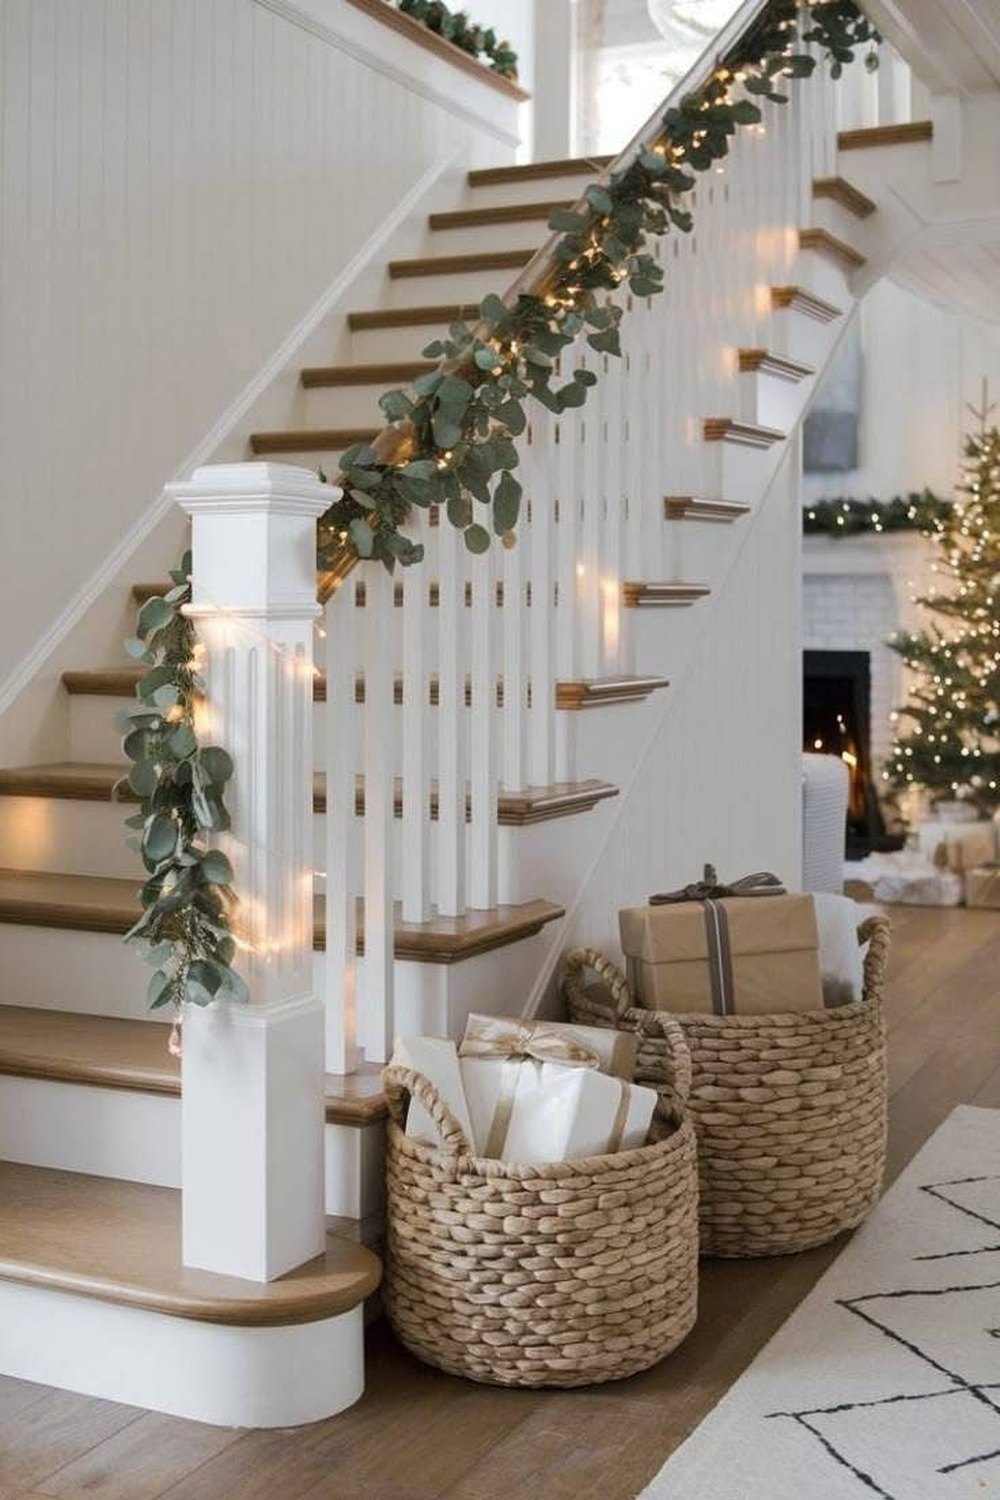
The bottom of the stairs is dead space in most hallways — baskets turn it into a scene.
Fill the corner where the stairs meet the hall floor: a woven basket of pale logs, one of folded blankets or spare throws, a few sprigs of greenery or pinecones tucked into the top. It grounds the garland floating above, gives guests a blanket within reach, and uses floor that was doing nothing at all.
Styling tip: keep the baskets snug into the corner or against the newel post, never creeping into the doorway swing or the stair foot traffic line. Hallway floor styling should fill forgotten corners, not narrow the route through.
12. Stockings Down the Banister: A Row Above the Steps
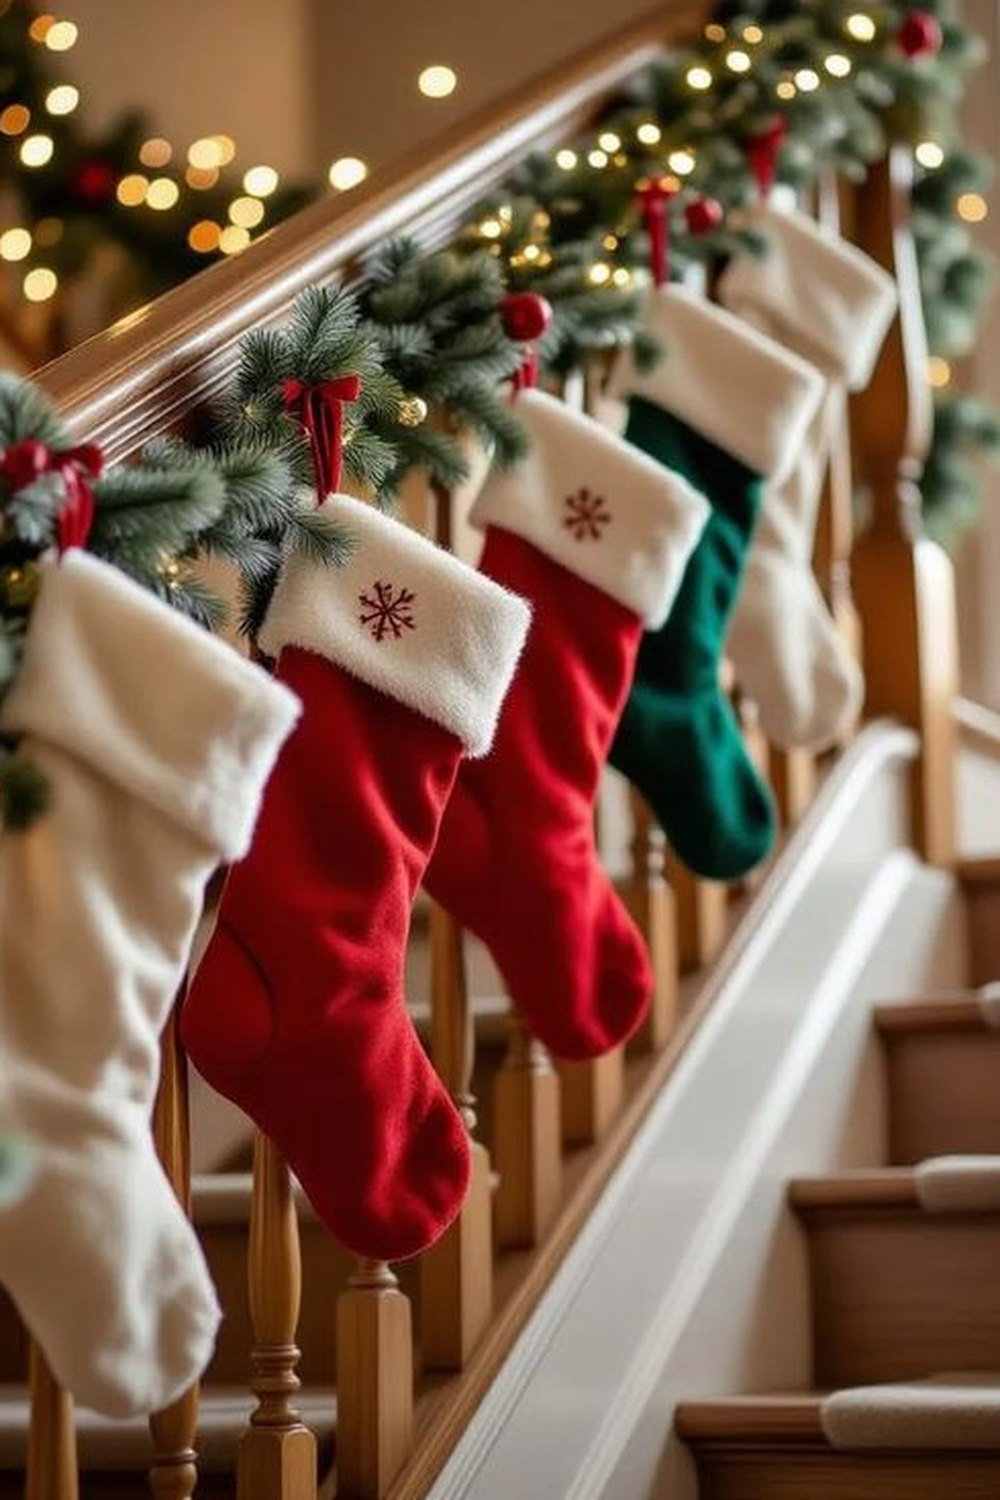
No fireplace? The banister holds the stockings beautifully — one per person, climbing the stairs.
Hang the family's stockings from the banister itself, tied with ribbon to the rail or the newel-side spindles in a rising row above the garland line. Knit, linen or felt stockings in one colour family read as a charming staircase garland of their own, and on Christmas morning the row becomes the most exciting sight in the house.
Styling tip: hang empty stockings from the outer face of the spindles so nothing dips toward the steps, and move the filled ones to the newel post on the night itself — heavy stockings swinging over a flight are a bump waiting to happen.
13. Fairy-Light Jars: Small Lanterns of Light
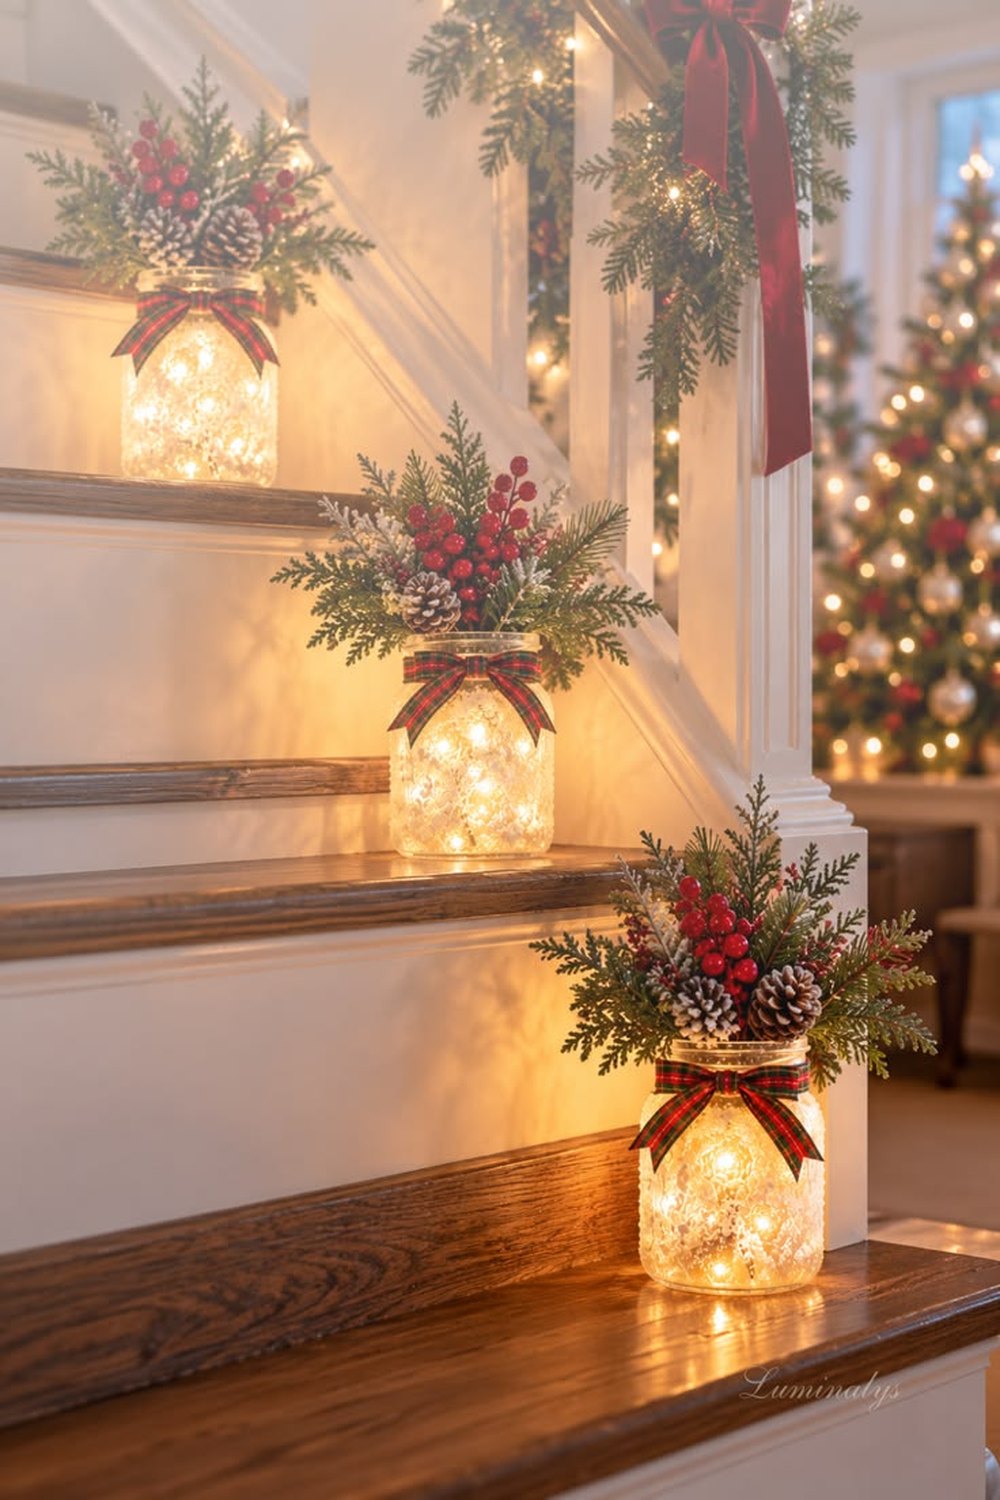
Battery lights in a jar — portable glow you can place anywhere the stairs widen.
Fill glass jars or small glass lanterns with a coil of battery micro-lights, add a frosted pinecone or a sprig of greenery inside the glass, and place them where the staircase naturally widens: the broad bottom step, a half-landing, the top step's corner. They give the same magic as step candles with no flame, no wax and no heat, and children can safely carry one up to bed.
Styling tip: group jars in twos and threes rather than dotting them singly up the flight — clusters look styled and keep the steps themselves empty. Hide the battery pack under the pinecone layer at the jar's base.
14. Bows on the Spindles: Little Bows, Big Rhythm
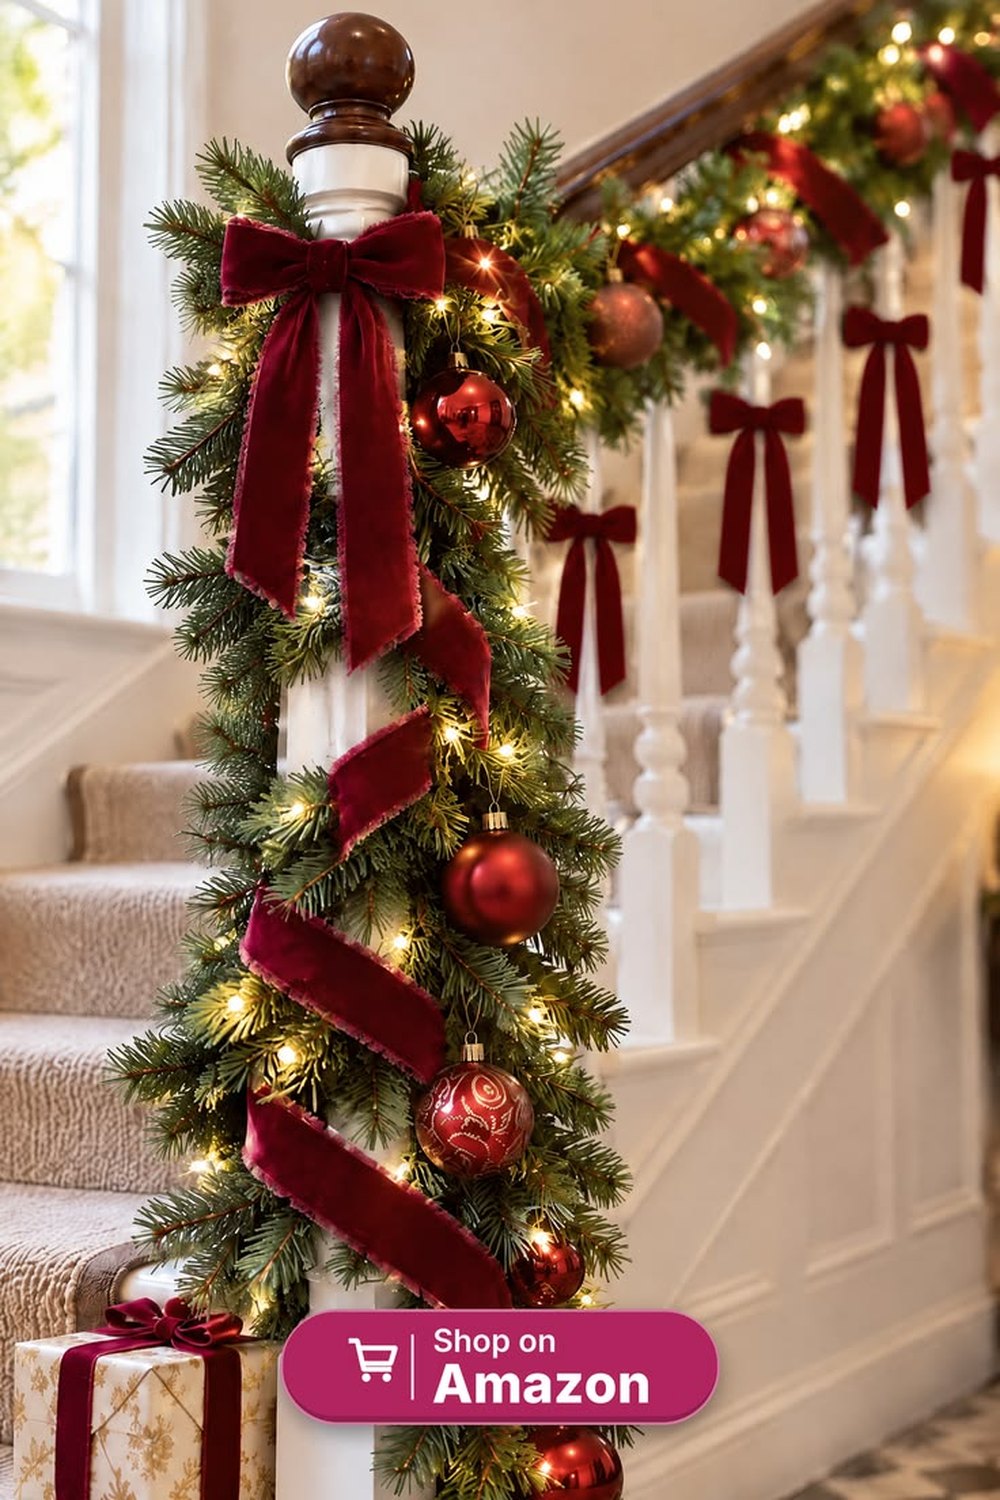
One small bow per spindle — the cheapest staircase transformation in this whole guide.
Tie a small ribbon bow around every spindle or every second spindle along the flight, all at the same height, just under the handrail. It takes an hour, costs one roll of ribbon, and the repeating rhythm of little bows turns plain painted spindles into something that looks custom-built for December. Velvet ribbon in miniature is the richest-looking choice.
Styling tip: tie the bows on the outer face of the spindles, tails trimmed short and even, so nothing flutters toward hands or steps. If your staircase is open on both sides, do the hallway-facing side only and let the garland carry the other.
Newel Posts & Landings: The Statement Moments
15. The Newel Post Wreath: A Welcome at the Foot of the Stairs
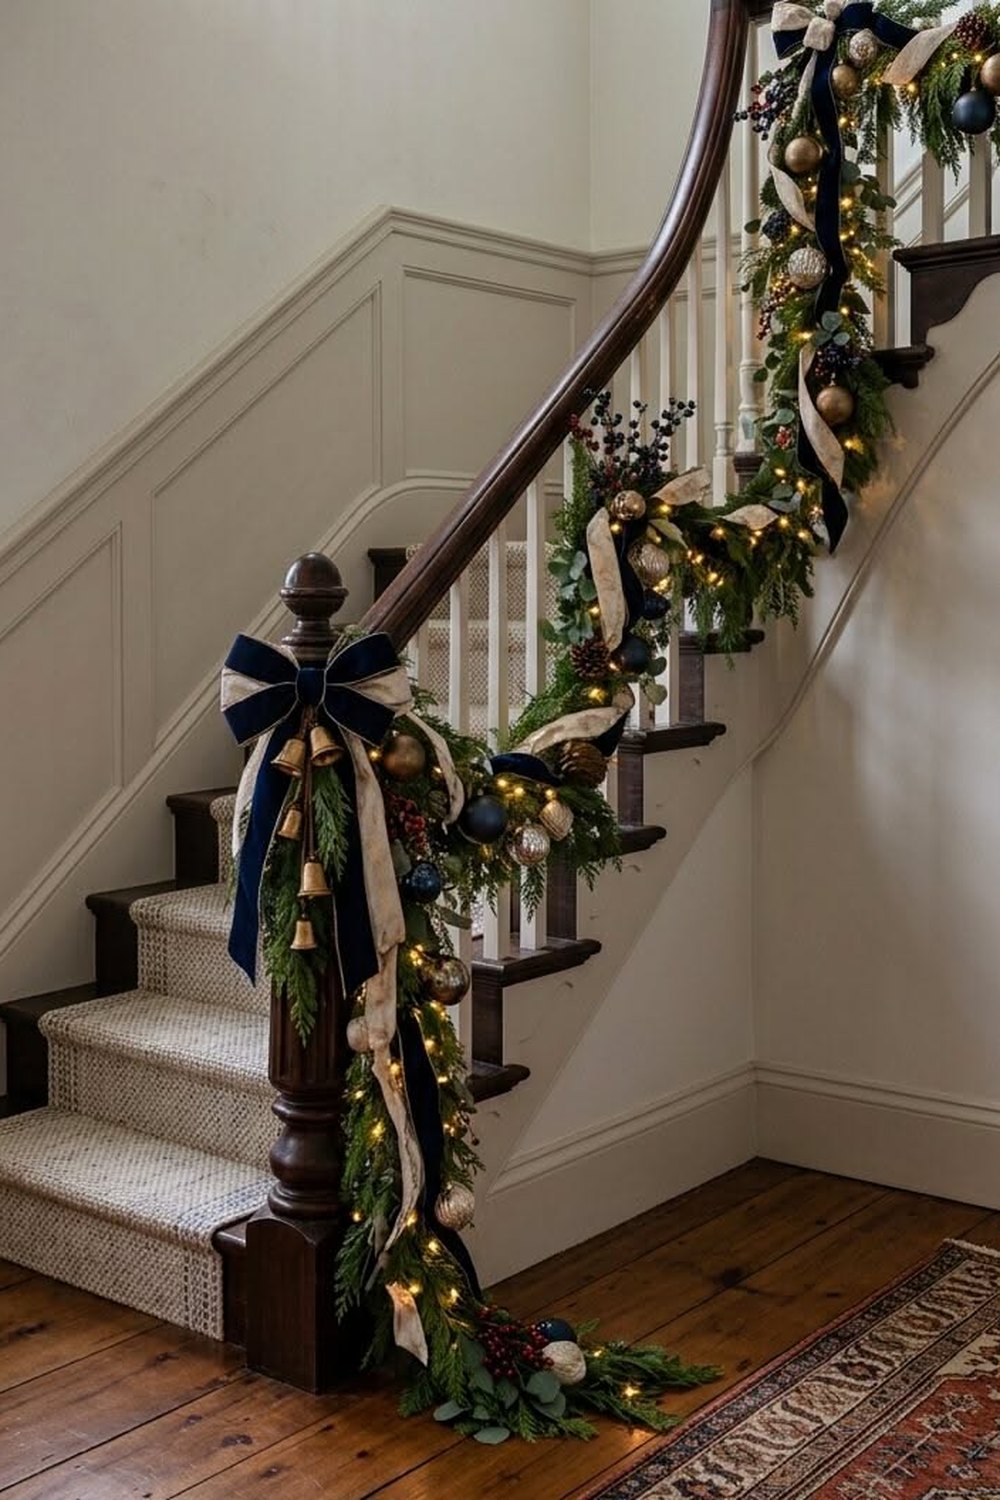
The newel post is the staircase's front door — a wreath on it greets everyone first.
Hang a full, generous wreath on the newel post at the bottom of the stairs, finished with one bow in the garland's ribbon colour. It is the first piece of staircase decor a guest sees, it marks the exact point where the garland run begins, and it turns a structural post into a deliberate welcome.
Styling tip: hang the wreath on the post's hall-facing side with a ribbon loop or a flat hook, and check the hallway side of the handrail stays clear beside it — the wreath decorates the post, but the rail beside it still belongs to hands.
16. The Statement Bow: One Big Bow on the Newel
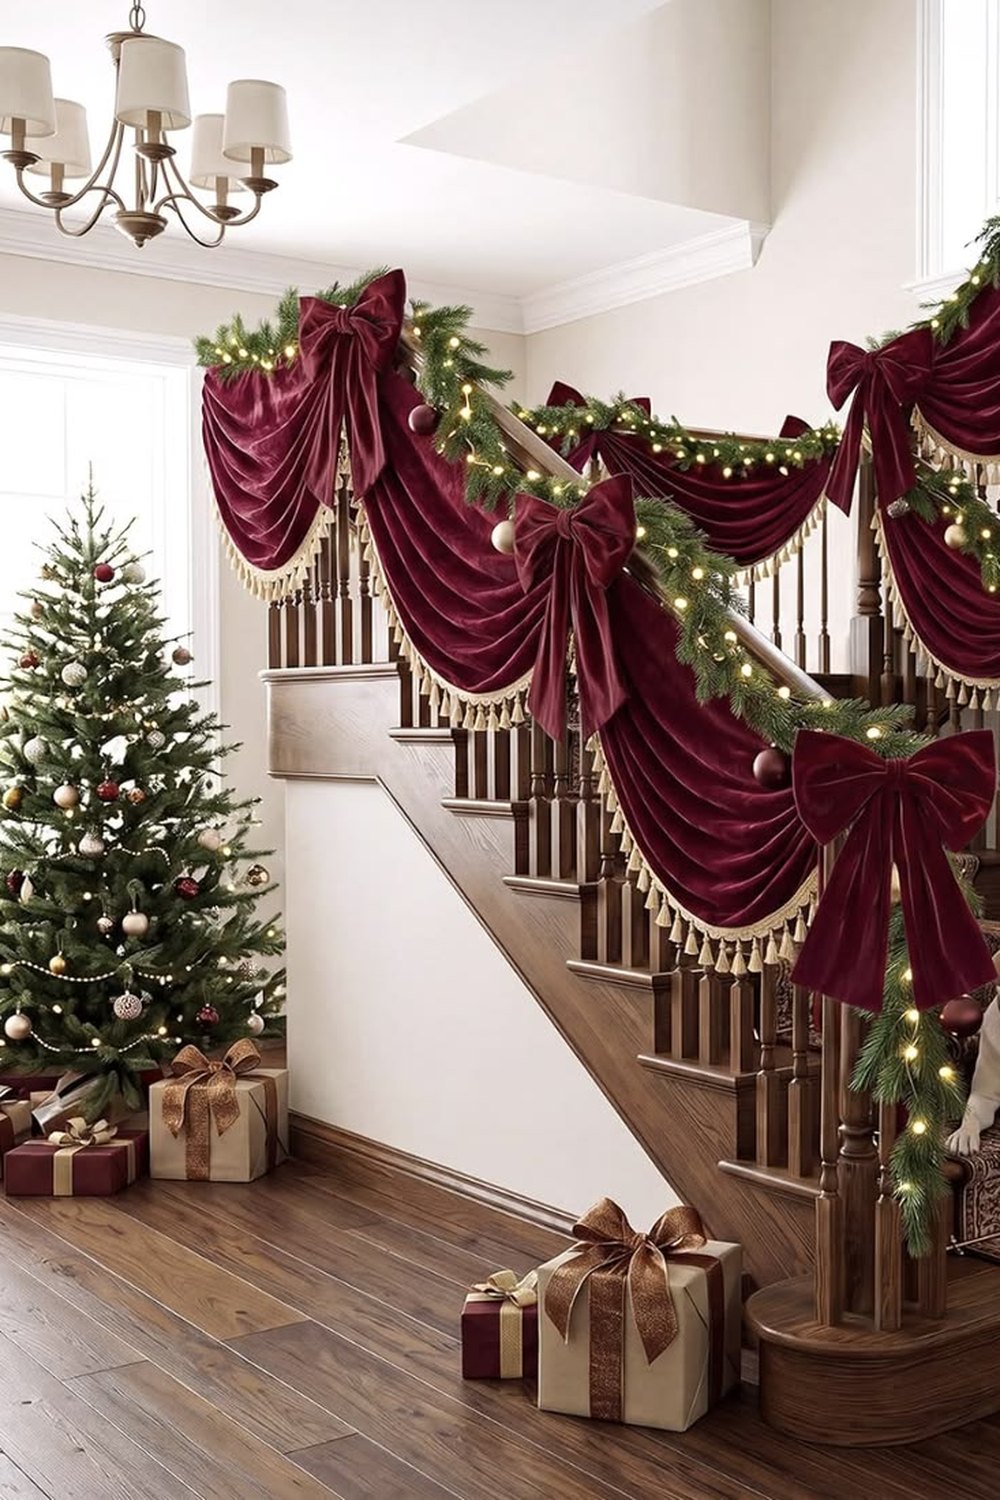
Bigger, softer, simpler — one oversized bow does the work of a whole display.
Tie a single oversized velvet bow, with long tails, around the newel post cap or at the very start of the garland. Where Idea 4 repeats small bows in rhythm, this one goes for scale: one dramatic bow reads like the ribbon on the whole staircase, as if the flight itself were a gift. It is also the fastest idea in the guide — ten minutes, one bow.
Styling tip: use wired ribbon so the loops hold their shape against passing traffic, and let the tails fall on the outer face of the post, away from the first step. A bow brushing the tread line will get stepped on by Christmas week.
17. The Landing Tree: A Second Tree Where the Stairs Turn
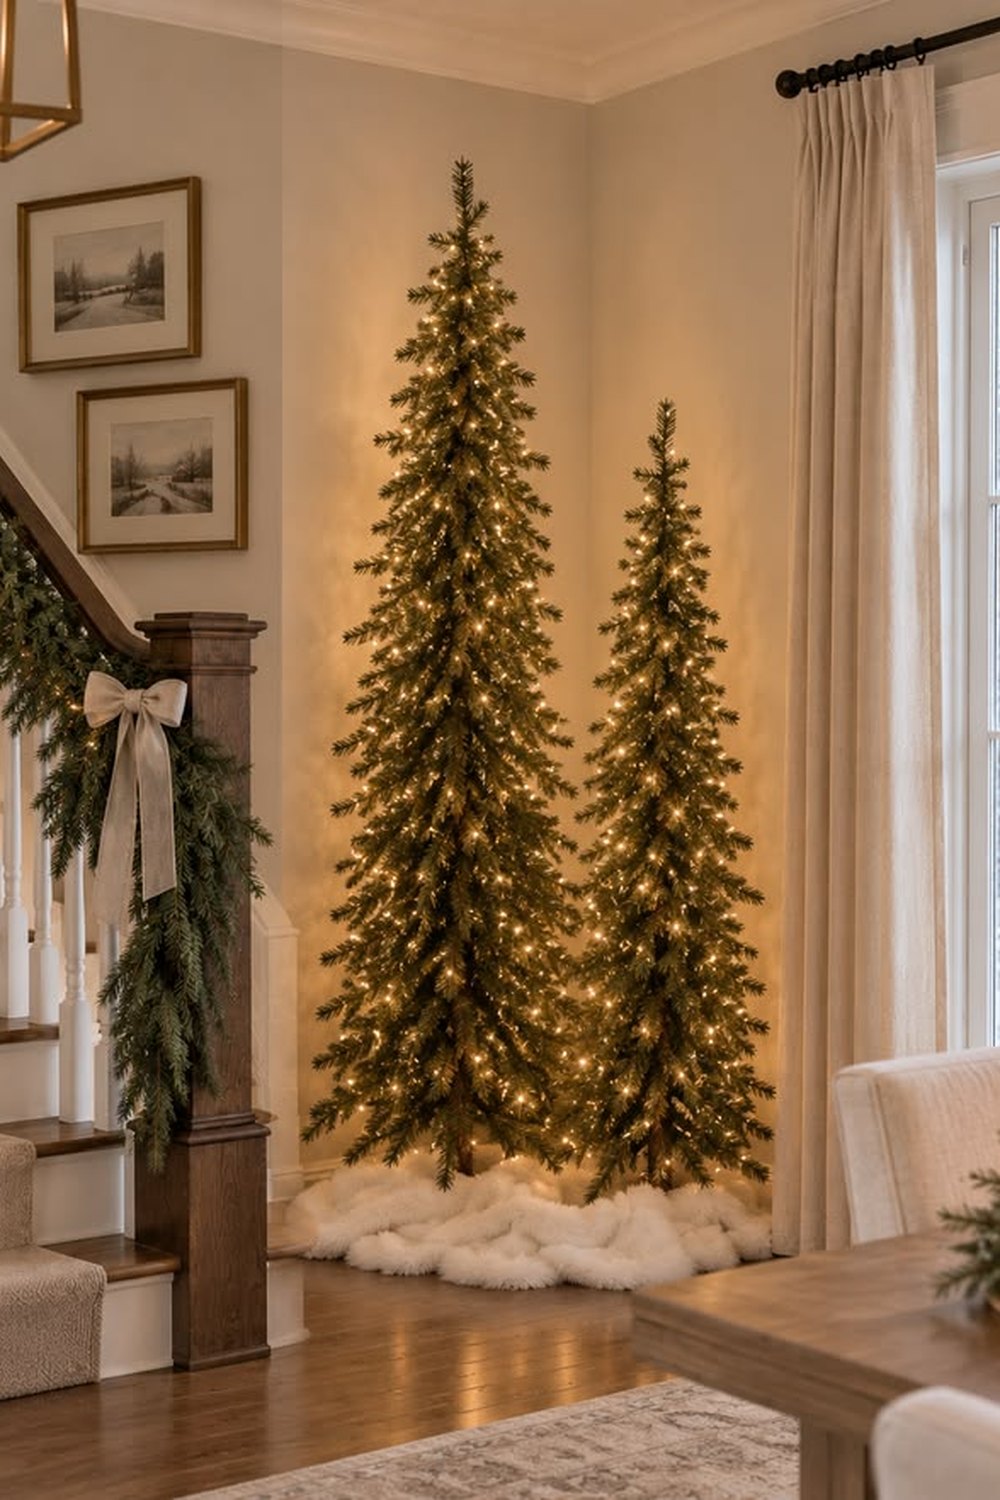
If the landing is wide enough for a slim tree, you have a second Christmas tree.
A half-landing or a generous top landing can hold a pencil-slim tree dressed to match the main one — same lights, same ribbon, a smaller share of the same ornaments. Seen from the hall below through the spindles, it glows like a secret, and it doubles the festive feeling of the whole upper floor for the price of the slimmest tree in the shop.
Styling tip: measure honestly before you buy — the tree must leave the full walking width of the landing clear, with branches clear of the turn where people pivot. A tree you have to squeeze past is a tree that will be resented by week two.
18. The Landing Window: A Wreath Against the Light
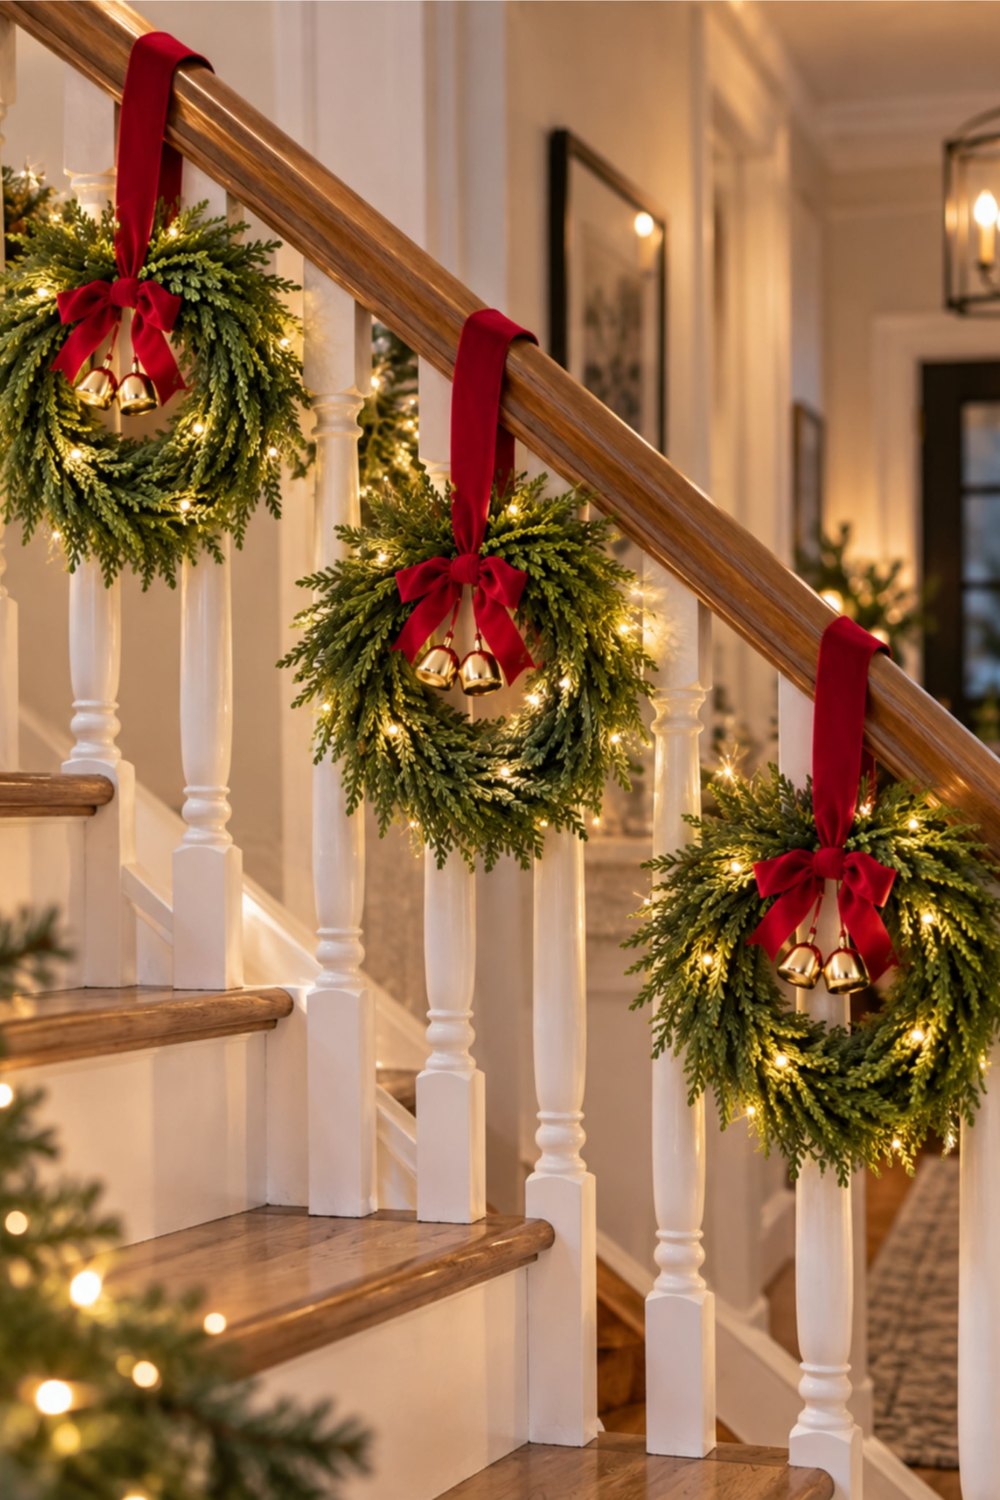
Many landings have one tall window — a wreath in it is backlit by the whole winter sky.
Hang a plain green wreath at the centre of the landing window on a ribbon from the frame or a suction hook. Daylight behind it turns the greenery into a dark, rich silhouette on the way up, and at night a battery candle or the landing's own light does the same from inside. It is one wreath and one ribbon, and it fills the largest blank surface on the staircase.
Styling tip: choose the fullest, plainest wreath you have — against the light, detail disappears and only the shape reads. A single linen or velvet bow at its base is the only addition that survives the silhouette test.
19. Stockings on the Newel: The Family Row in One Place
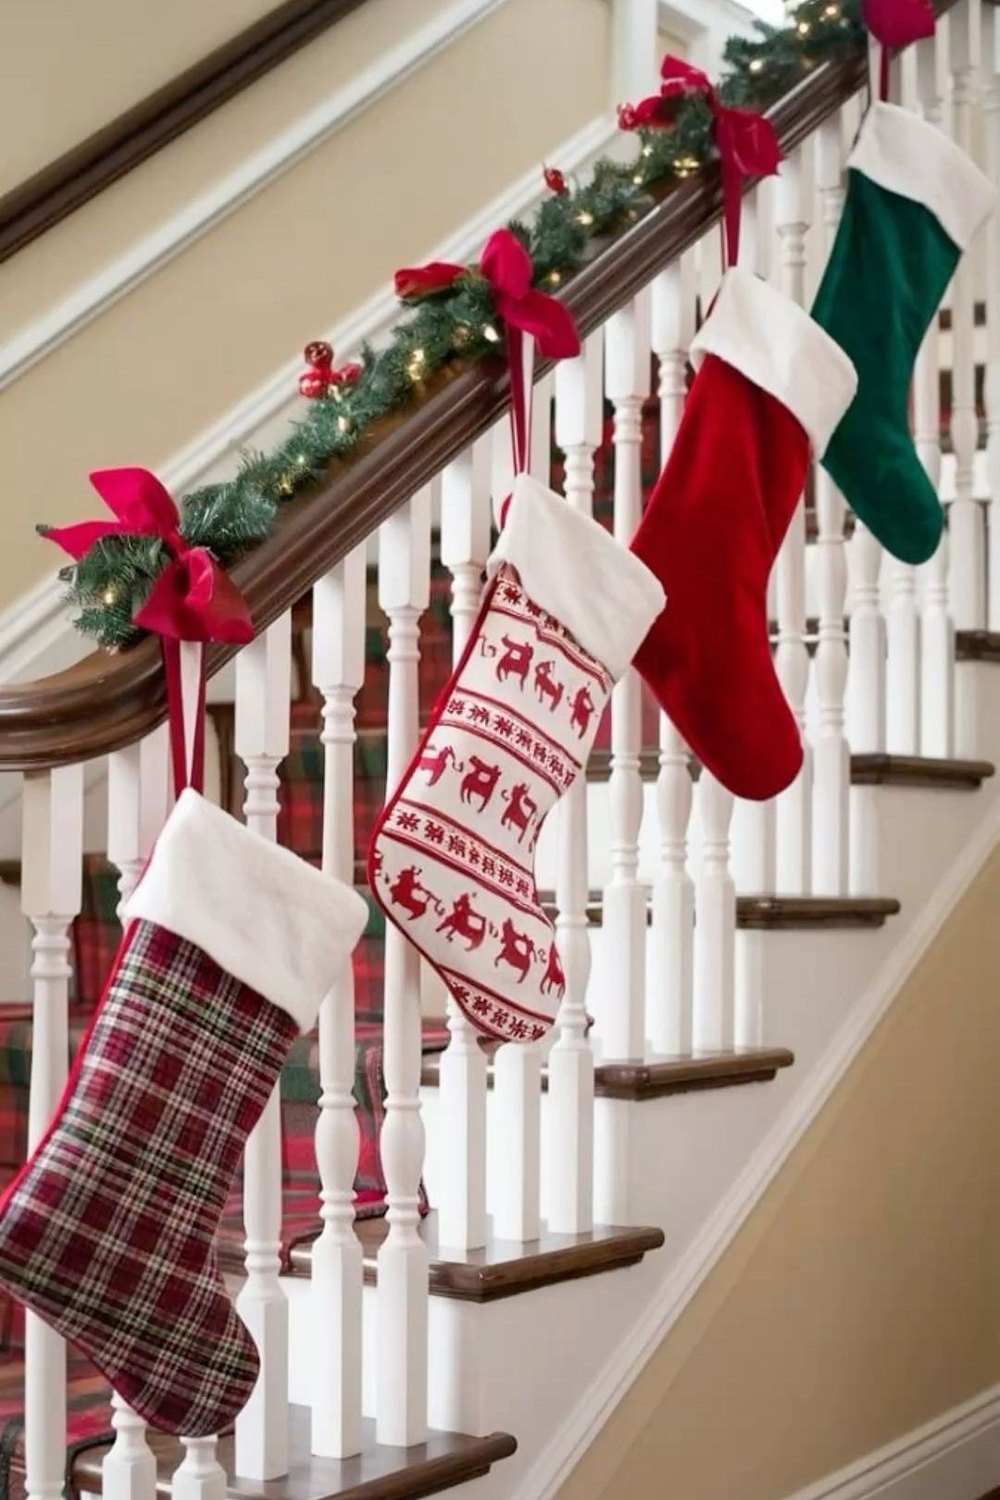
All the stockings together on the newel post — the morning gathering point.
Instead of a row up the banister, hang every stocking from the newel post and the short landing rail beside it, clustered at the staircase's base. The whole family's stockings in one place makes a rich, generous display, keeps the flight itself completely clear, and gives Christmas morning a natural stage at the bottom of the stairs.
Styling tip: hang them with ribbon loops on removable hooks rated for the filled weight, and keep the cluster on the hall side of the post. Filled stockings are heavy — this is the one arrangement that should be checked twice before the night it matters.
20. The Landing Chair: A Cosy Pause Halfway Up
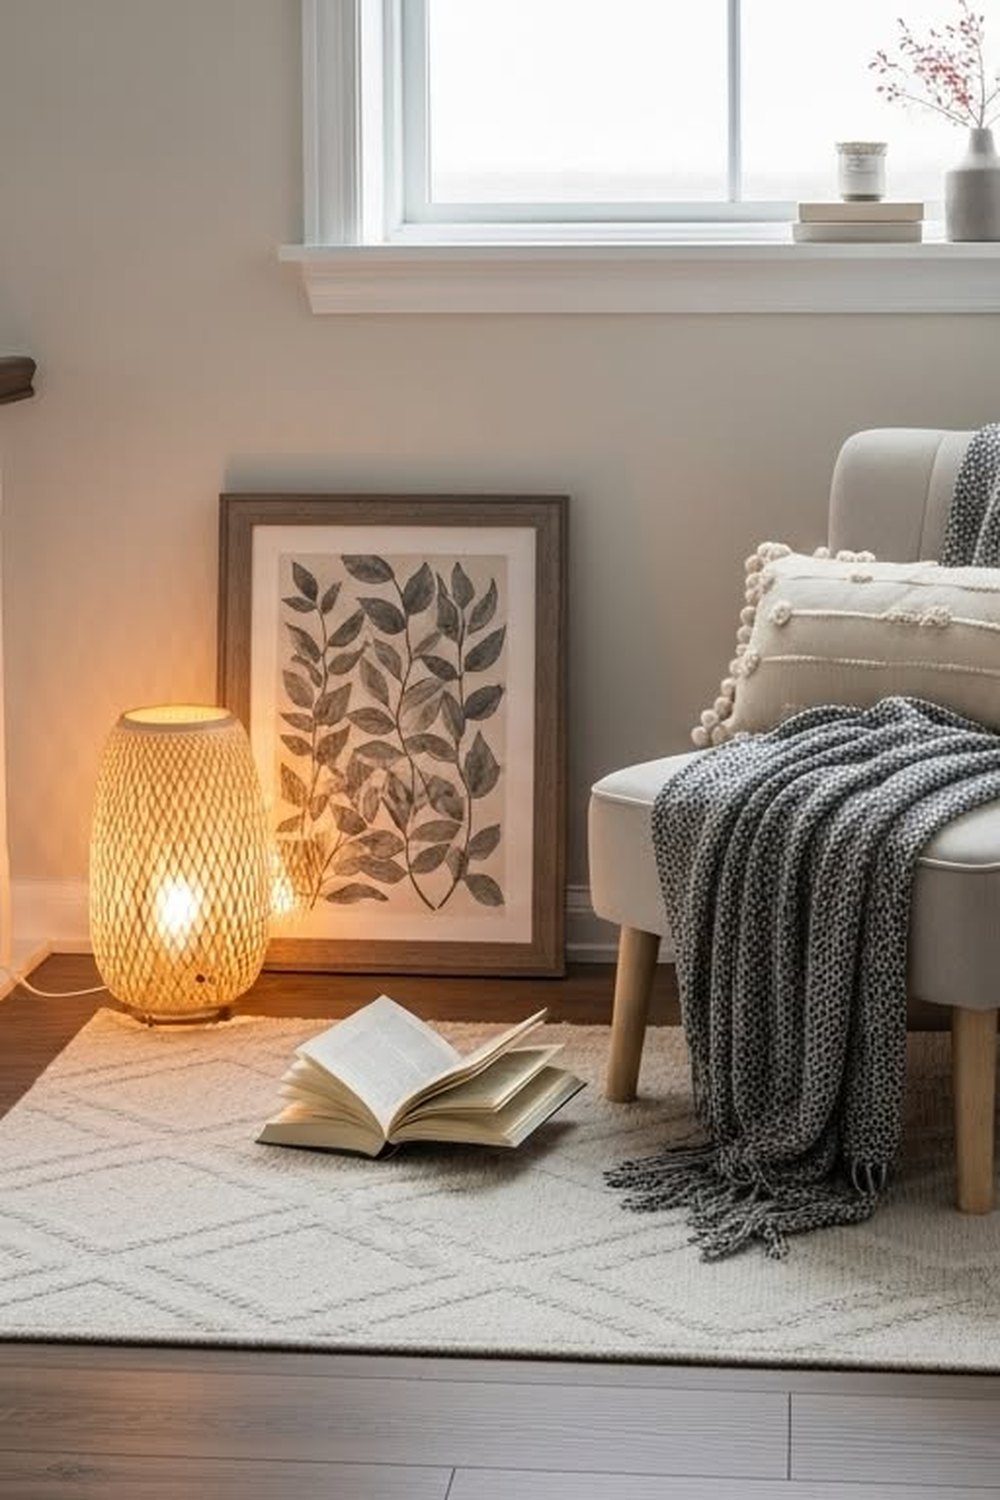
Room for a chair on the landing? You have room for the house's quietest Christmas corner.
On a generous landing, place a small chair or a narrow console with a folded knit throw, a flameless candle and the smallest potted tree. It catches the garland's glow from below, gives the upper floor its own festive moment, and turns a pass-through space into a pause — the seat nobody planned and everybody uses.
Styling tip: treat the landing like a doorway, not a room: furniture hugs the wall, the turning circle stays fully clear, and nothing — however pretty — narrows the route between the flights. If in doubt, the console version gives the look in half the depth.
21. The Top-of-Stairs Swag: Garland Across the Landing Rail
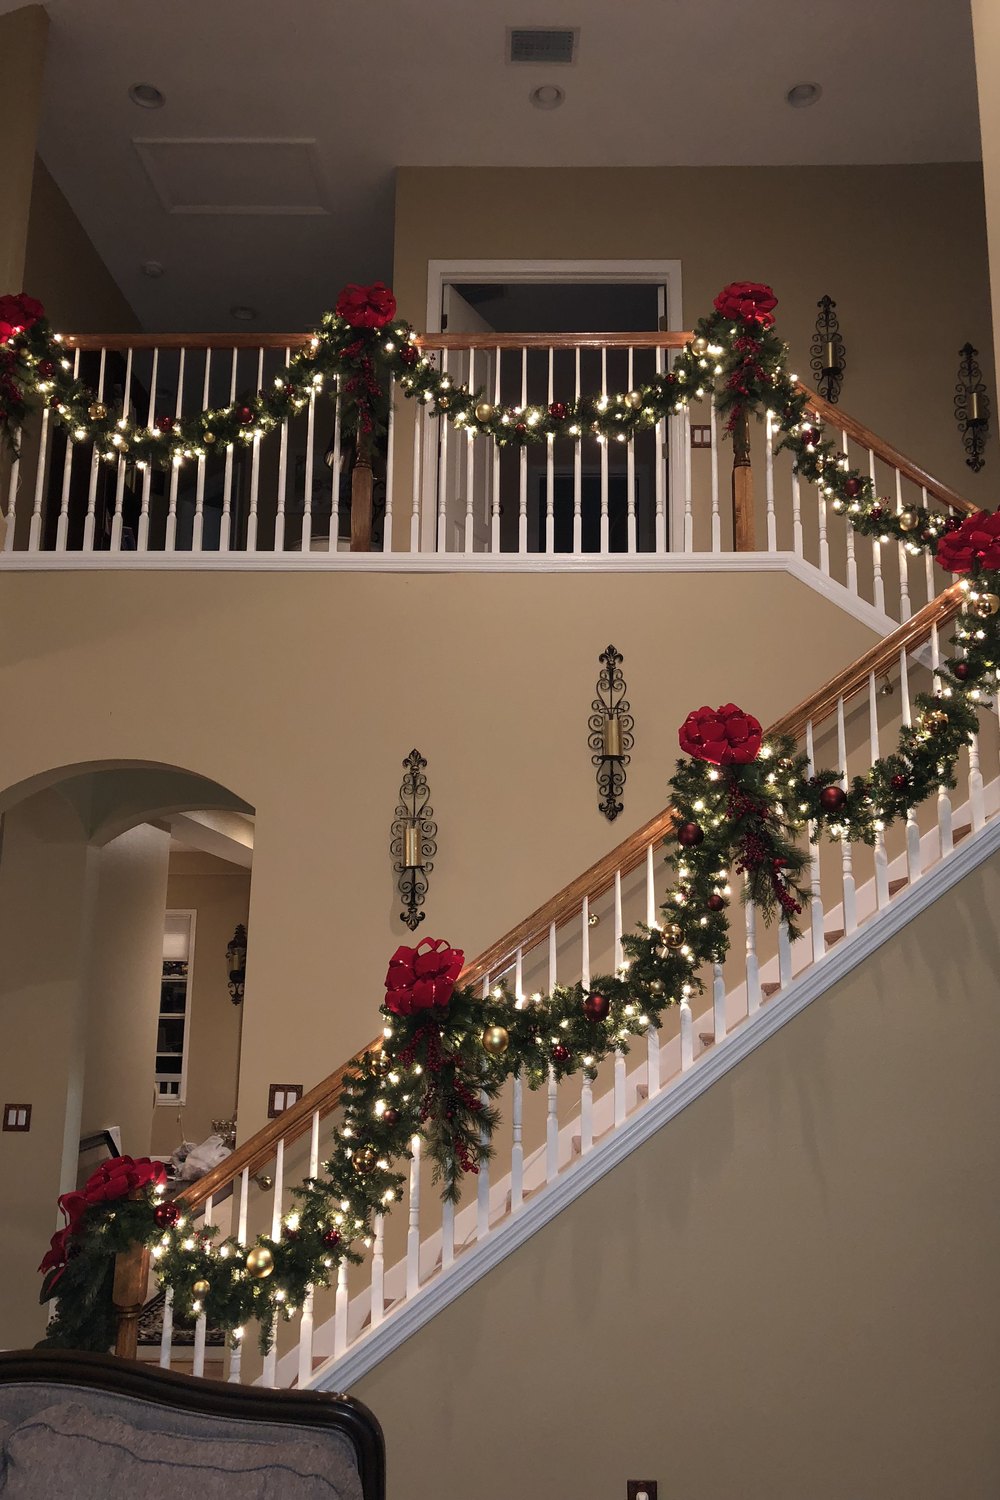
Carry the garland over the top — the landing rail swagged to match the flight.
Where the stairs arrive, the landing usually has its own short balustrade, and swagging it with the same garland, bows and lights as the flight below ties the whole staircase into one composition. From the hall you see the garland climb, turn and continue — that continuity is what makes staircase decorating look architectural rather than applied.
Styling tip: fix this garland to the outer, landing-side face of the rail as well, in matching swag depths, so the top of the landing rail stays clear for hands exactly like the flight below it. Matching swag rhythm on both rails is the detail that sells the whole scheme.
The Staircase Wall: Galleries & Wreaths
22. The Gallery Wall, Dressed: Festive Prints in Old Frames
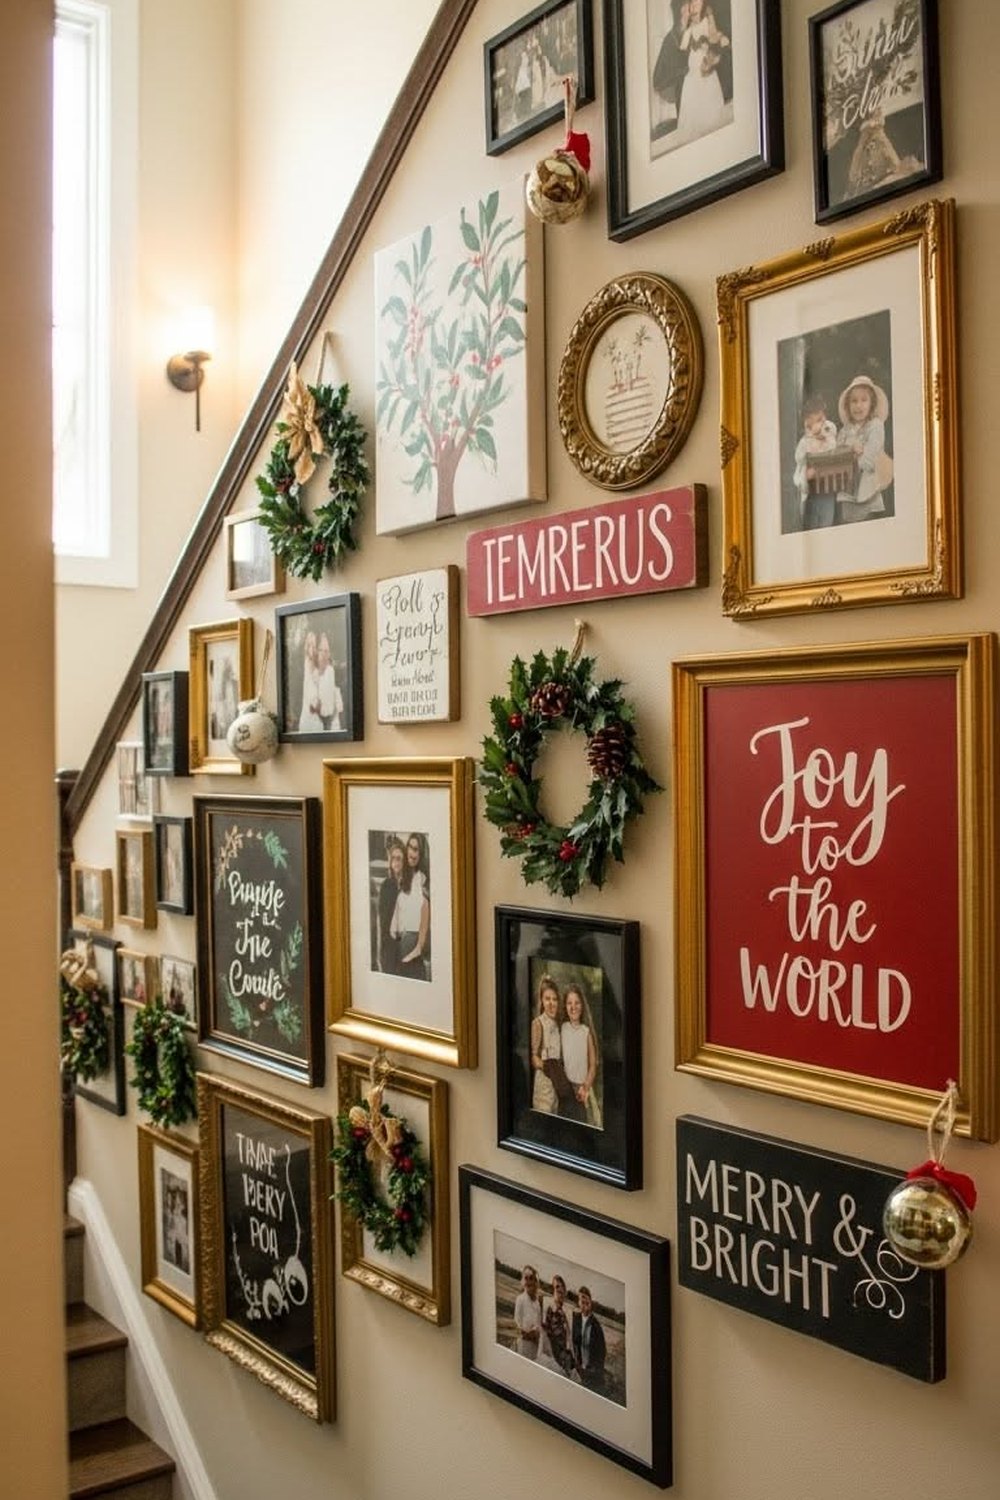
Swap a third of the prints for winter ones — the wall that climbs with you changes season.
Most staircase walls already carry a gallery of frames stepping up with the slope. Slip festive prints into a few of them for December — a winter botanical, a vintage Christmas illustration, a simple star, a favourite card — and the whole climb feels decorated without one new hole in the wall. Everything swaps back in January in ten minutes.
Styling tip: change roughly one frame in three, spread evenly up the slope, and keep the festive prints in the wall's existing colour range. A fully themed stair wall reads as a display; a third swapped reads as a home leaning into the season.
23. Wreaths Up the Wall: A Climbing Trio
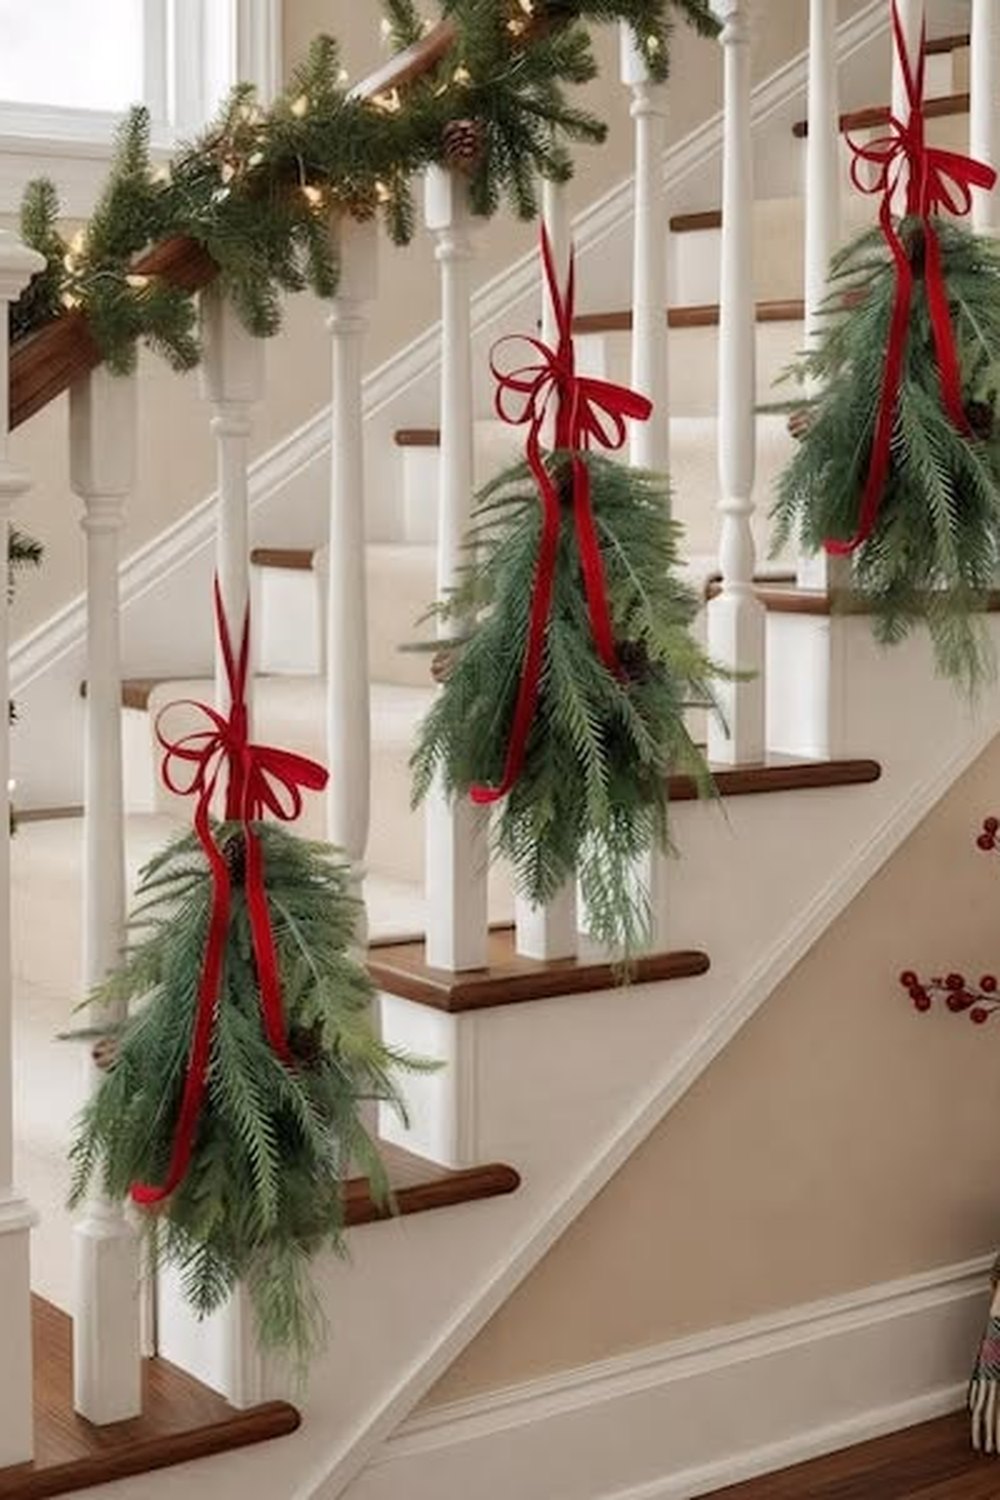
Three plain wreaths, hung on the diagonal — the wall itself becomes the garland.
Hang three wreaths of descending or matching size in a diagonal line up the staircase wall, following the angle of the flight. Plain greenery with the same ribbon as the banister ties the wall to the garland below, and the diagonal rhythm does the work that pattern does in wallpaper — it makes the climb feel designed.
Styling tip: hang the wreaths from ribbons looped on picture hooks so the drops can be adjusted until the diagonal matches the stair slope exactly. Measure the middle wreath against the slope first and copy its angle — the eye reads the line, not the individual wreaths.
24. The Mirror and the Wreath: Reflection Doubles the Green
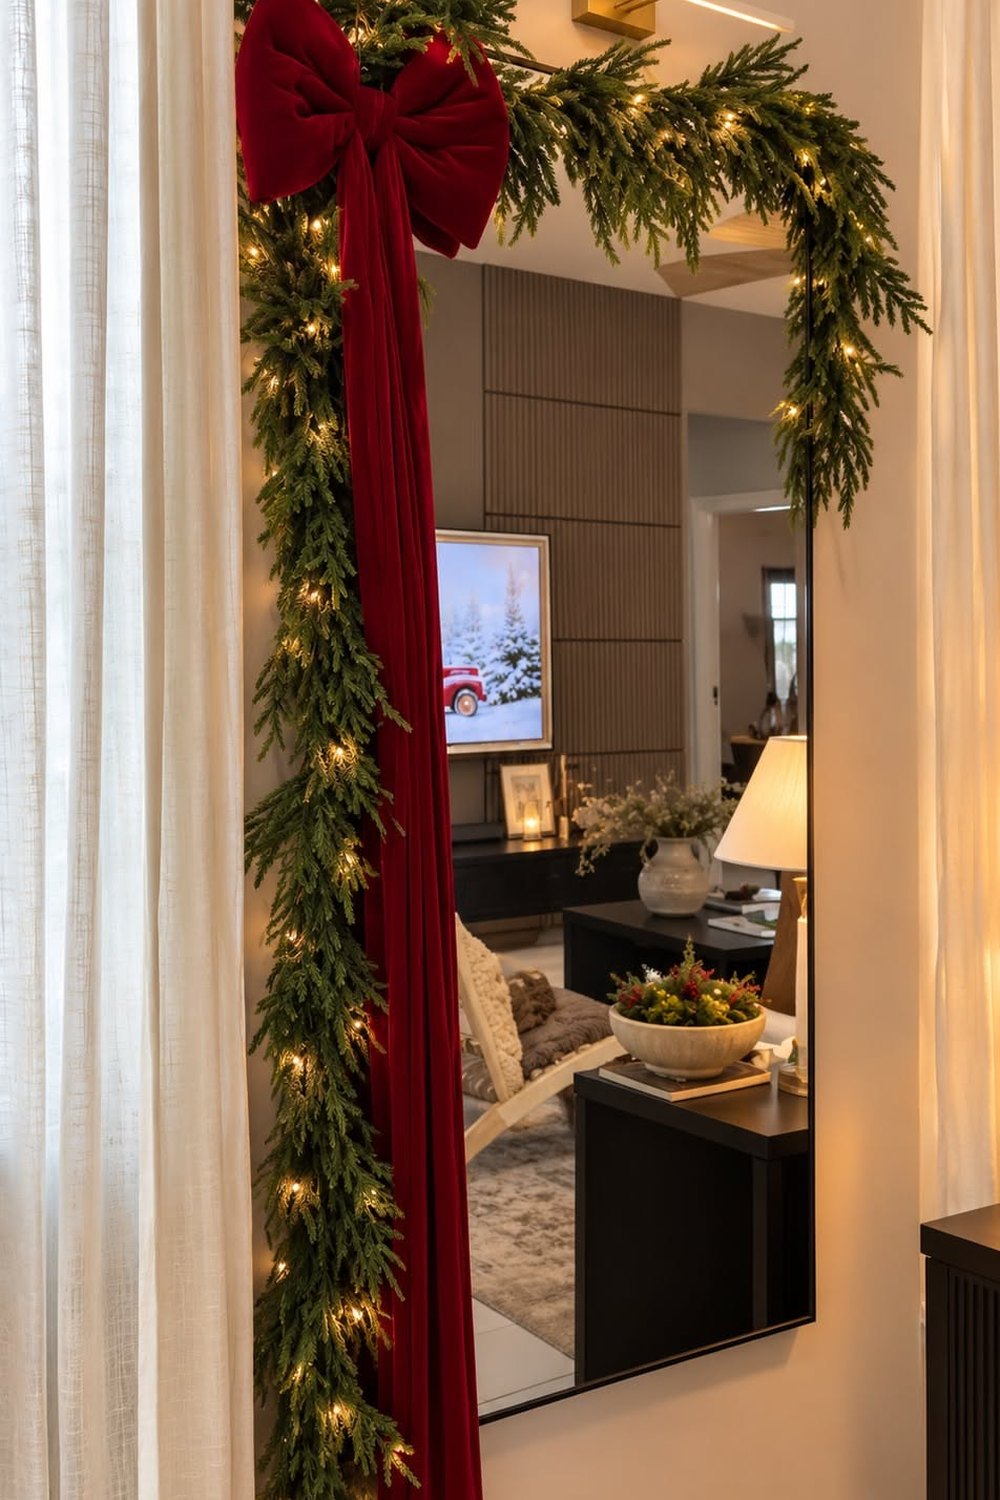
A mirror where the stairs turn reflects the garland's lights — and doubles the wreath.
If your staircase has a turn or a half-landing wall, hang a mirror there and loop a wreath over its top edge. The mirror catches the banister garland and its lights from across the flight, so you get the glow twice, and the wreath against glass looks fuller than it is. It also bounces precious daylight down a stairwell that is often the darkest part of the house.
Styling tip: use a flat-backed wreath slightly smaller than the mirror's width, on a ribbon over the frame, and angle-check it from the bottom step — the reflection should show greenery and light, not the back of the wreath or the hallway ceiling.
25. Dressed Sconces: Greenery at the Lights
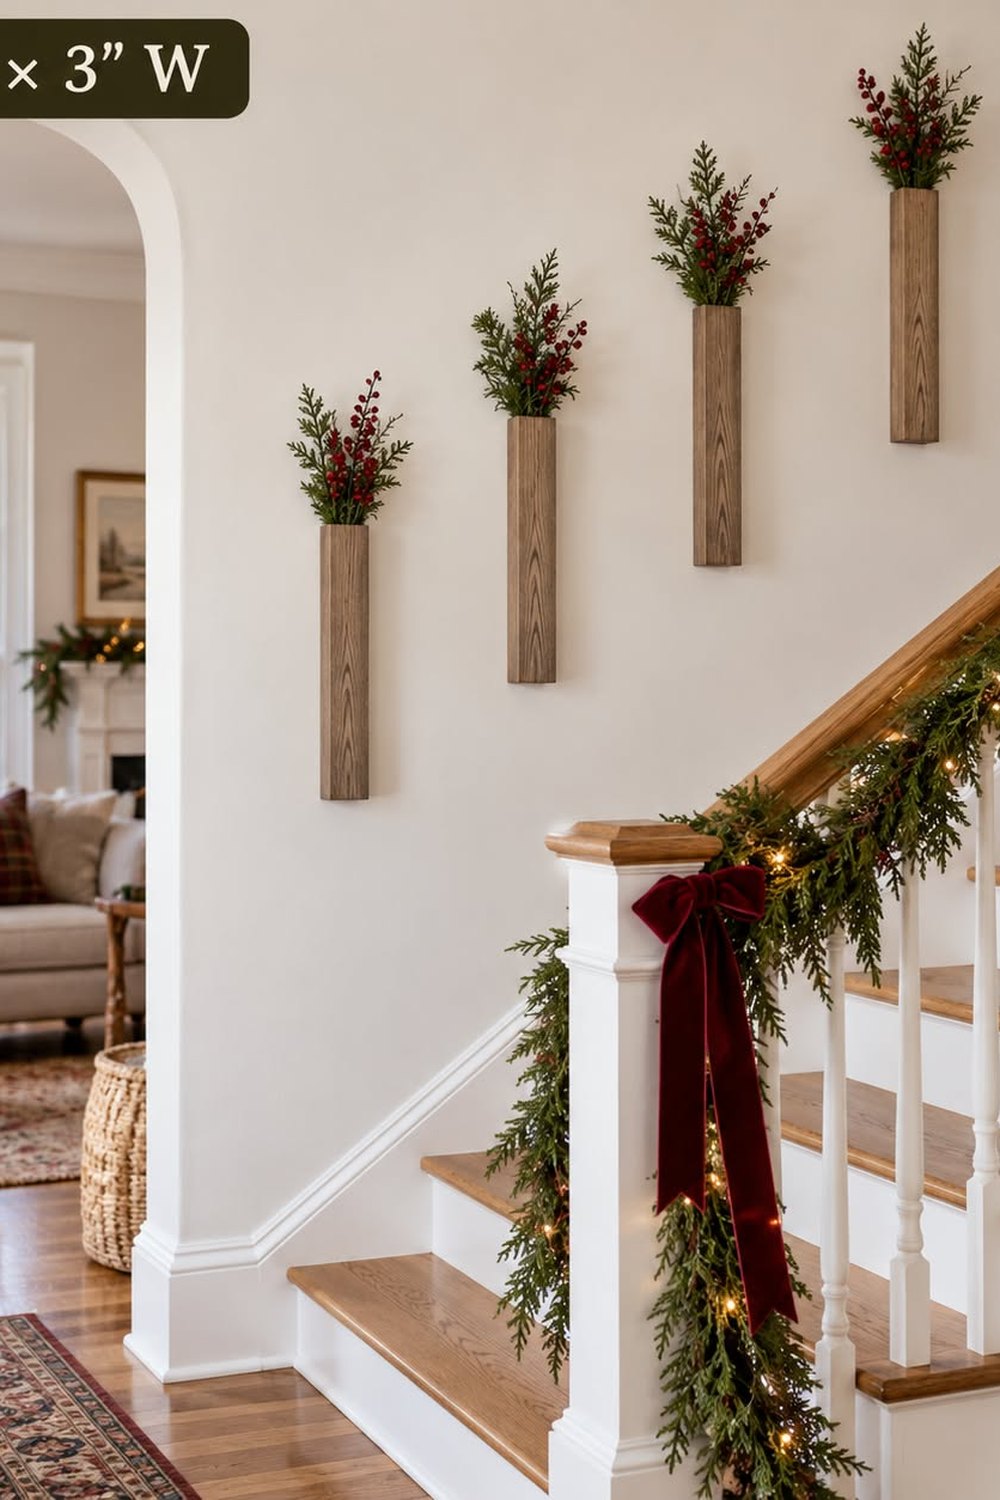
A sprig above each wall light — the smallest styling on the stairs, repeated all the way up.
Staircase wall lights and sconces take a tiny festive edit: one sprig of greenery, a few berries or a miniature wreath resting on or hung just above each fitting. Repeated at every light up the flight, the little green notes connect the wall to the banister garland and make the lighting itself part of the scheme.
Styling tip: keep every sprig clear of bulbs and shades, and use faux or dried greenery near any fitting that warms up — LED sconces run cool, but foliage resting on a hot shade dries, fades and sheds onto the steps below.
26. Cards on a Ribbon Line: The Stair Wall Display
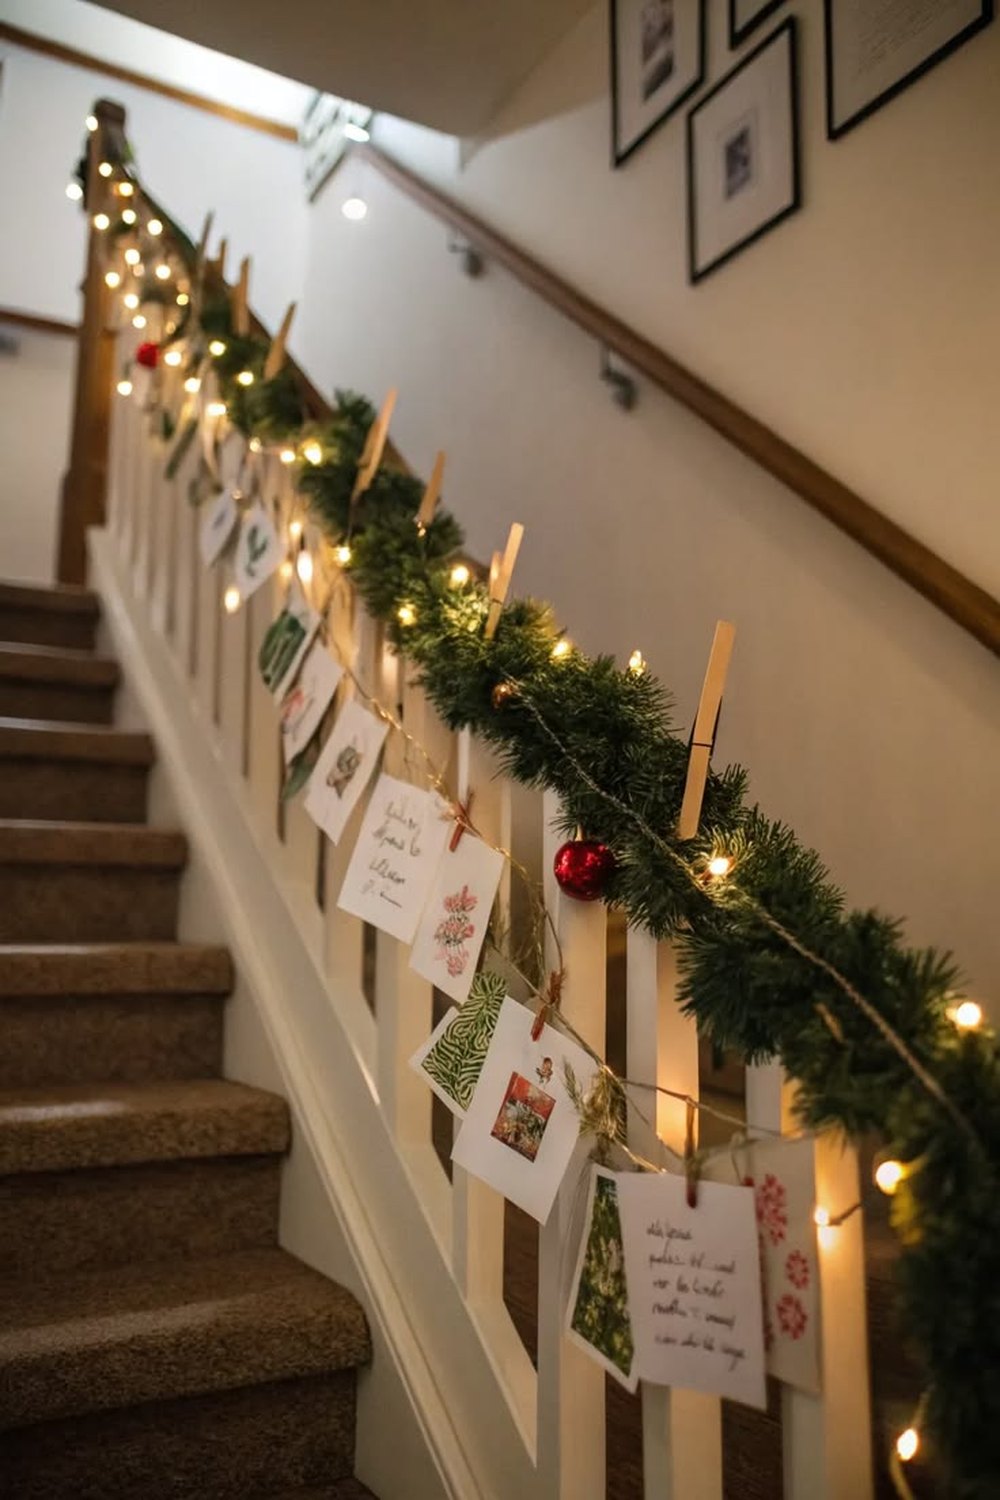
The cards arrive all month — string them up the stair wall and let the display grow.
Run one or two lengths of ribbon diagonally up the staircase wall, parallel to the banister, and clip the season's Christmas cards along them with small pegs as they arrive. It solves the where-do-the-cards-go problem, fills the big blank wall with genuine colour and sentiment, and changes a little every day of December.
Styling tip: string the ribbon on the wall face well above the handrail so cards never brush hands or shoulders on the way up, and weight the prettiest cards at eye level on the lower flight — the top of the stairs can hold the overflow.
27. Paper Stars Along the Slope: Light at Every Turn
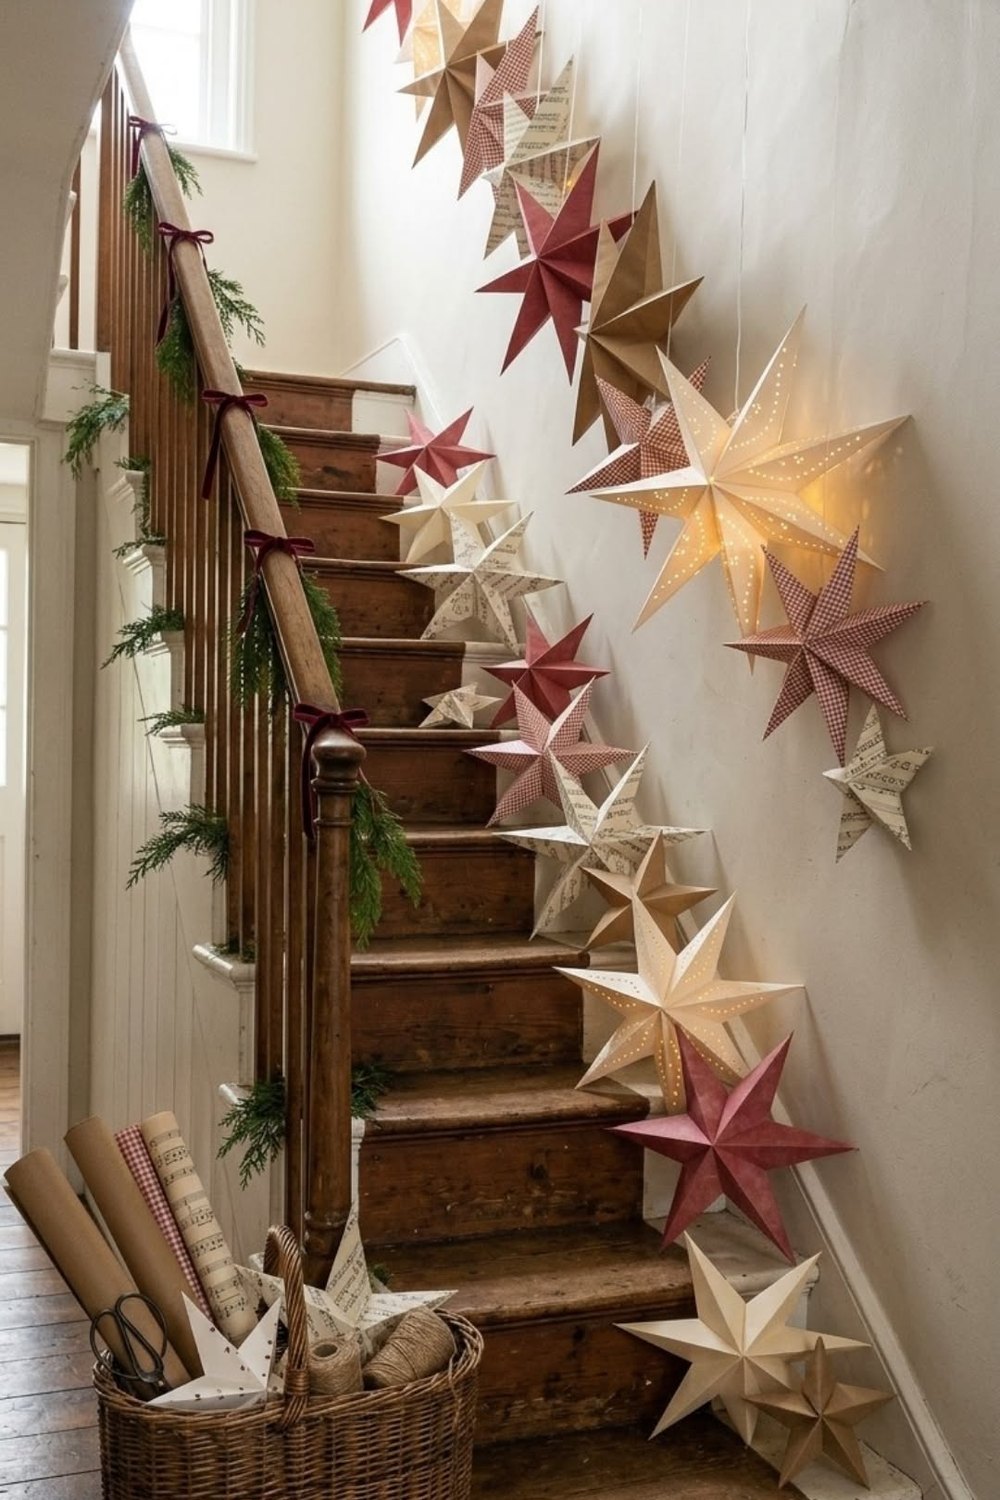
Paper stars hung to follow the slope — a constellation climbing the stairs.
Hang battery-lit paper star lanterns at intervals along the staircase wall, their drops following the angle of the flight so the stars climb as the stairs do. Their soft patterned light flatters the garland below, they weigh almost nothing, and in January they fold flat into a drawer. White and cream keep it calm; one star in a soft red makes a beautiful exception.
Styling tip: hang the stars high on the wall, well clear of heads and hands, on removable hooks, and stagger their heights slightly rather than marching them in a perfect line — a gentle rise reads as a constellation, a rigid line reads as signage.
28. The Picture Ledge: Small Frames, Trees and Candles
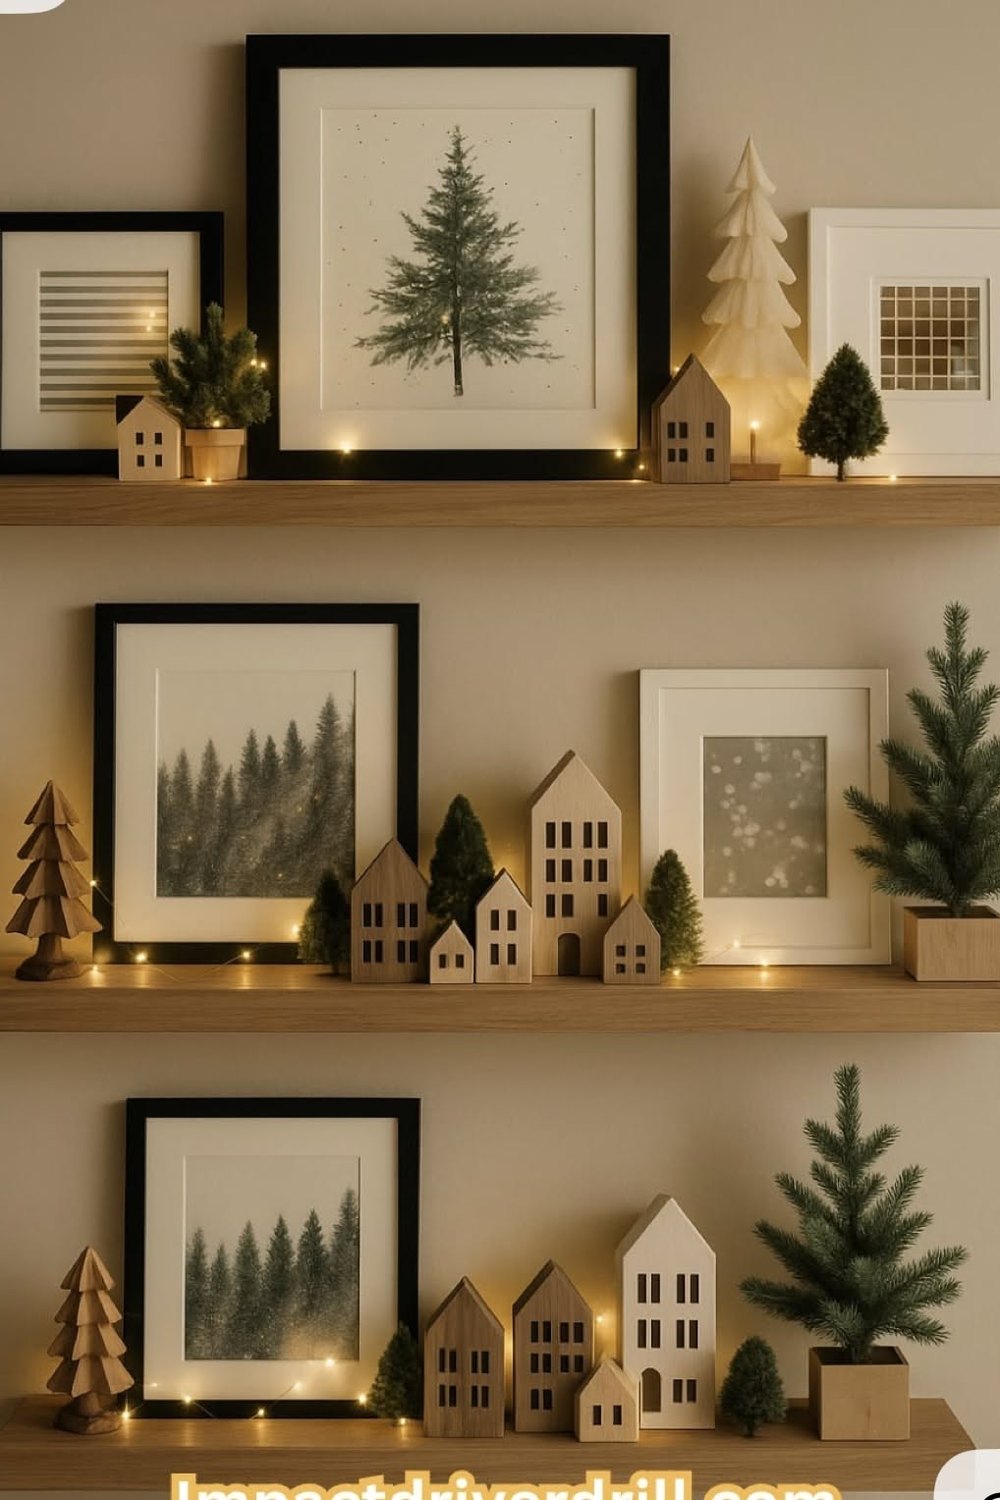
Two slim ledges on the stair wall — a mantel's worth of styling, an inch deep.
Fix one or two narrow picture ledges on the staircase wall at the landing end or along a straight stretch, and style them like a miniature mantel: small frames leaned in a row, bottle brush trees, a flameless candle, a tiny wreath. The ledges are only a few centimetres deep, so they fill the wall without taking anything from the stairwell's width.
Styling tip: keep everything on the ledges light and low, and place them where the wall is set back from the walking line — never above the narrowest part of the flight where a knocked frame would land on the steps.
Under the Stairs, the Hallway & Colour Stories
29. The Under-Stair Tree: A Woodland Nook Below
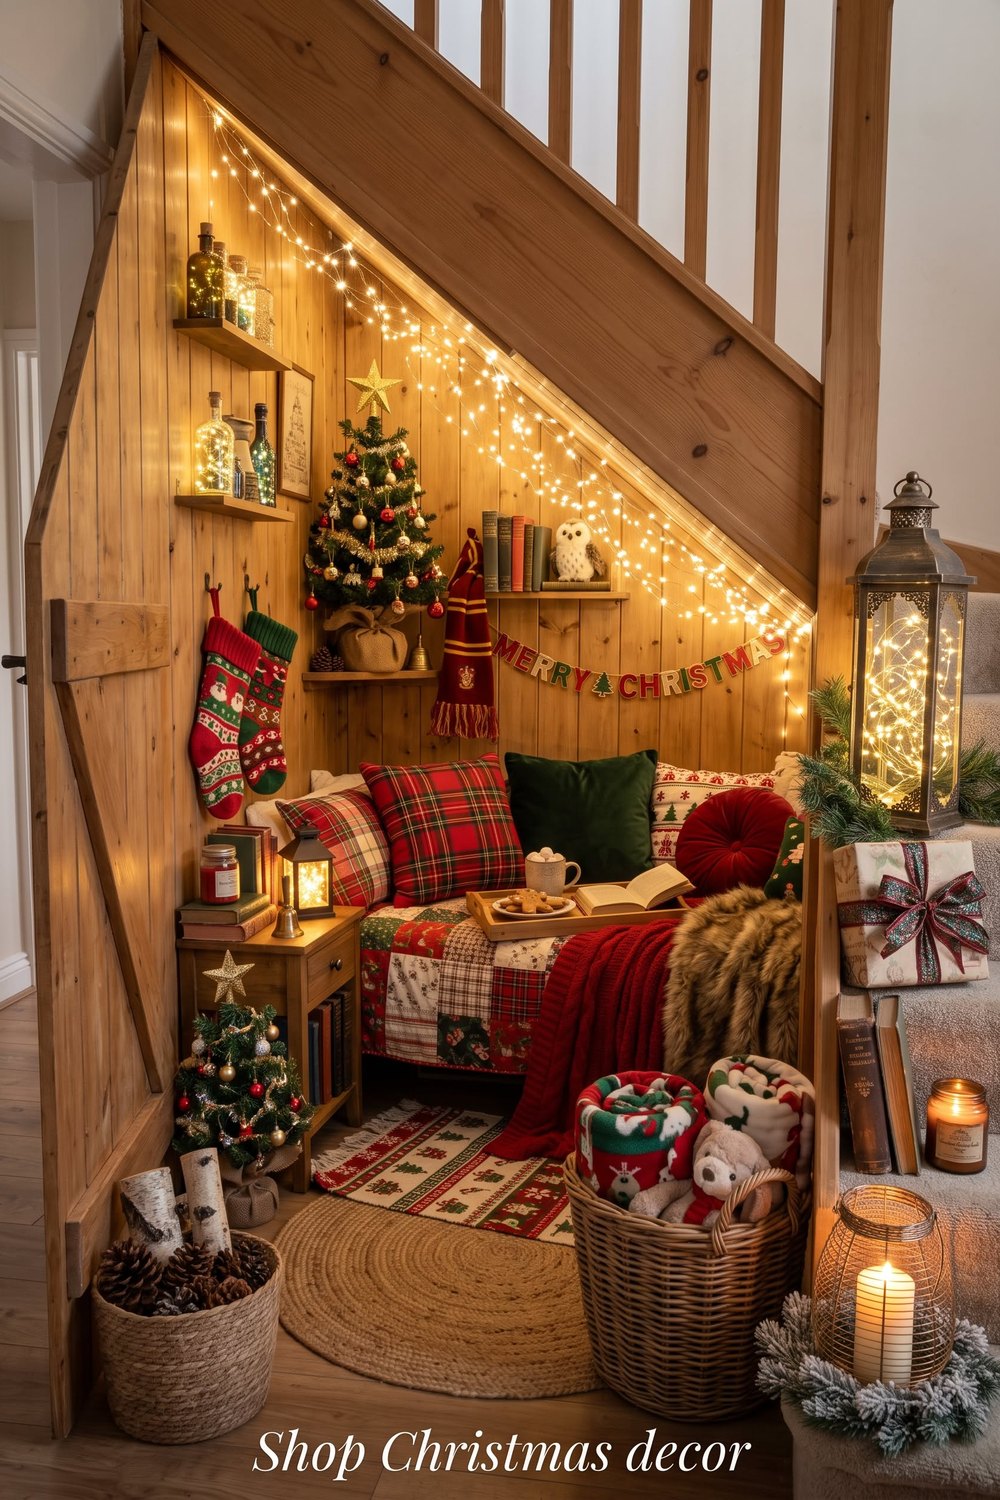
The alcove under the stairs is found space — a small tree turns it into a woodland scene.
Many homes have an open alcove, nook or cupboard space beneath the flight, and at Christmas it is the perfect stage: a modest tree, a basket of pinecones, a faux fur rug and a few woodland touches arranged in the triangular space. It costs the hallway nothing, delights children who spot it at their eye level, and balances the garland spectacle above.
Styling tip: keep the nook's styling inside the alcove's footprint so the hallway route stays fully open, and run the tree on battery lights or a safely routed cable along the wall — never a lead crossing the hall floor.
30. The Village Under the Stairs: A Scene in the Alcove
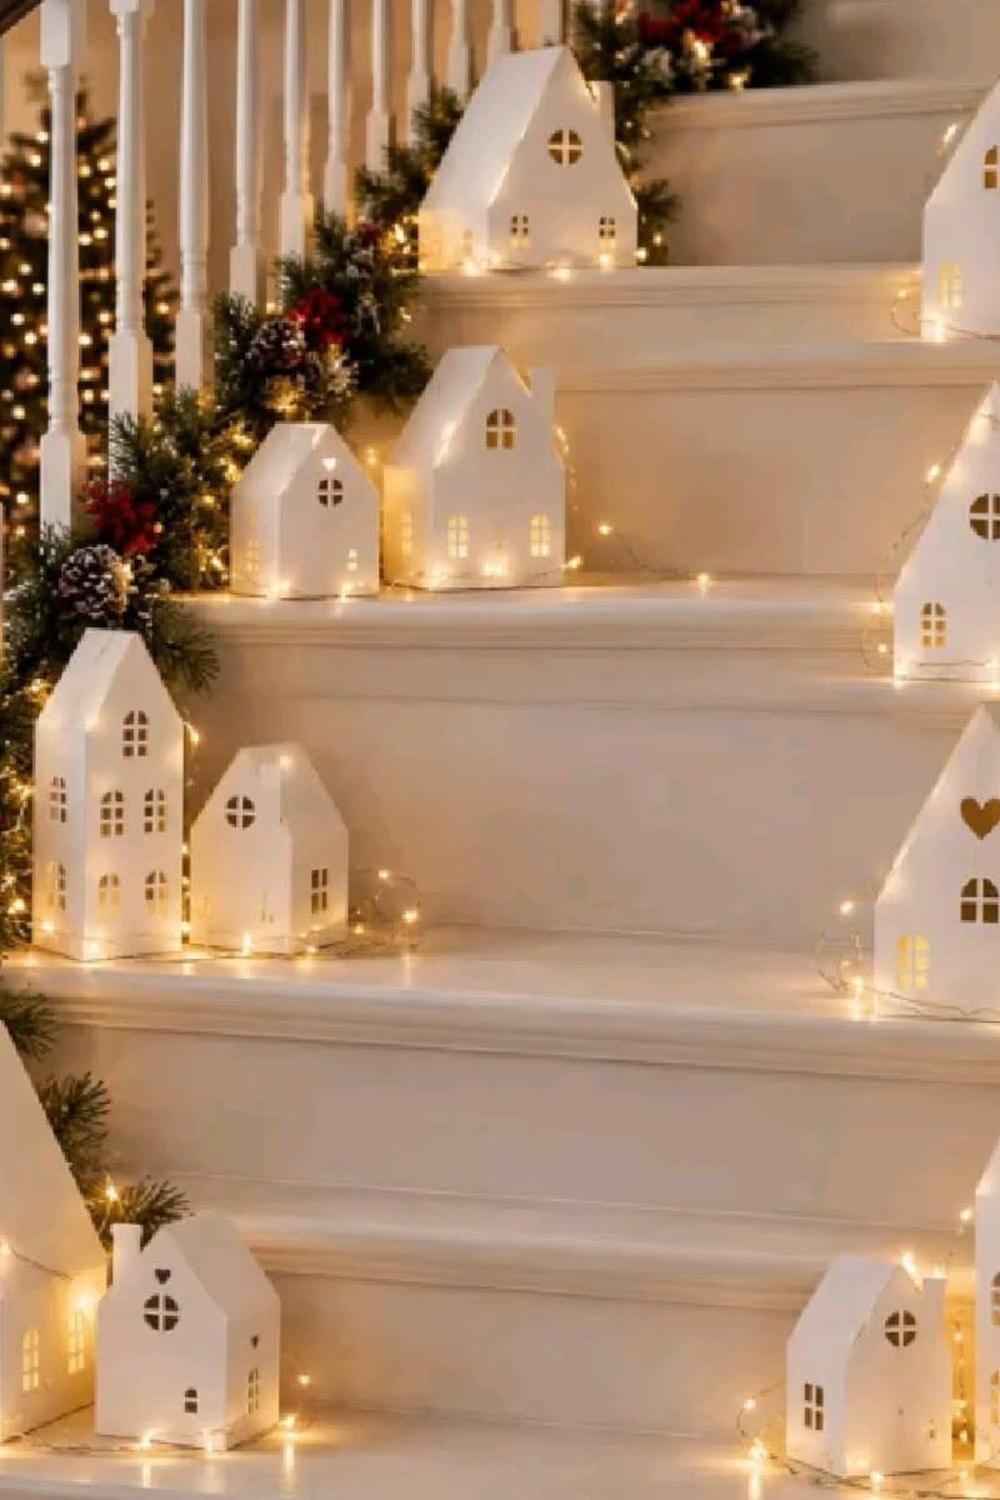
A tiny lit village in the under-stair space — the scene guests crouch down to admire.
Instead of a tree, fill the under-stair alcove or a low console beneath the flight with a Christmas village: ceramic or putz houses on stacked books and boxes for height, bottle brush trees between them, fake snow underneath and warm lights glowing in the windows. The staircase becomes a frame around it, and the slope of the flight gives the little street a hillside to sit on.
Styling tip: build the village on a board or tray inside the alcove so it lifts out in one piece for cleaning and packing, and keep the whole scene back from the hallway's walking line — villages invite leaning in, so give admirers floor space that is not a doorway.
31. The Hallway Console Echo: The Scheme at Ground Level
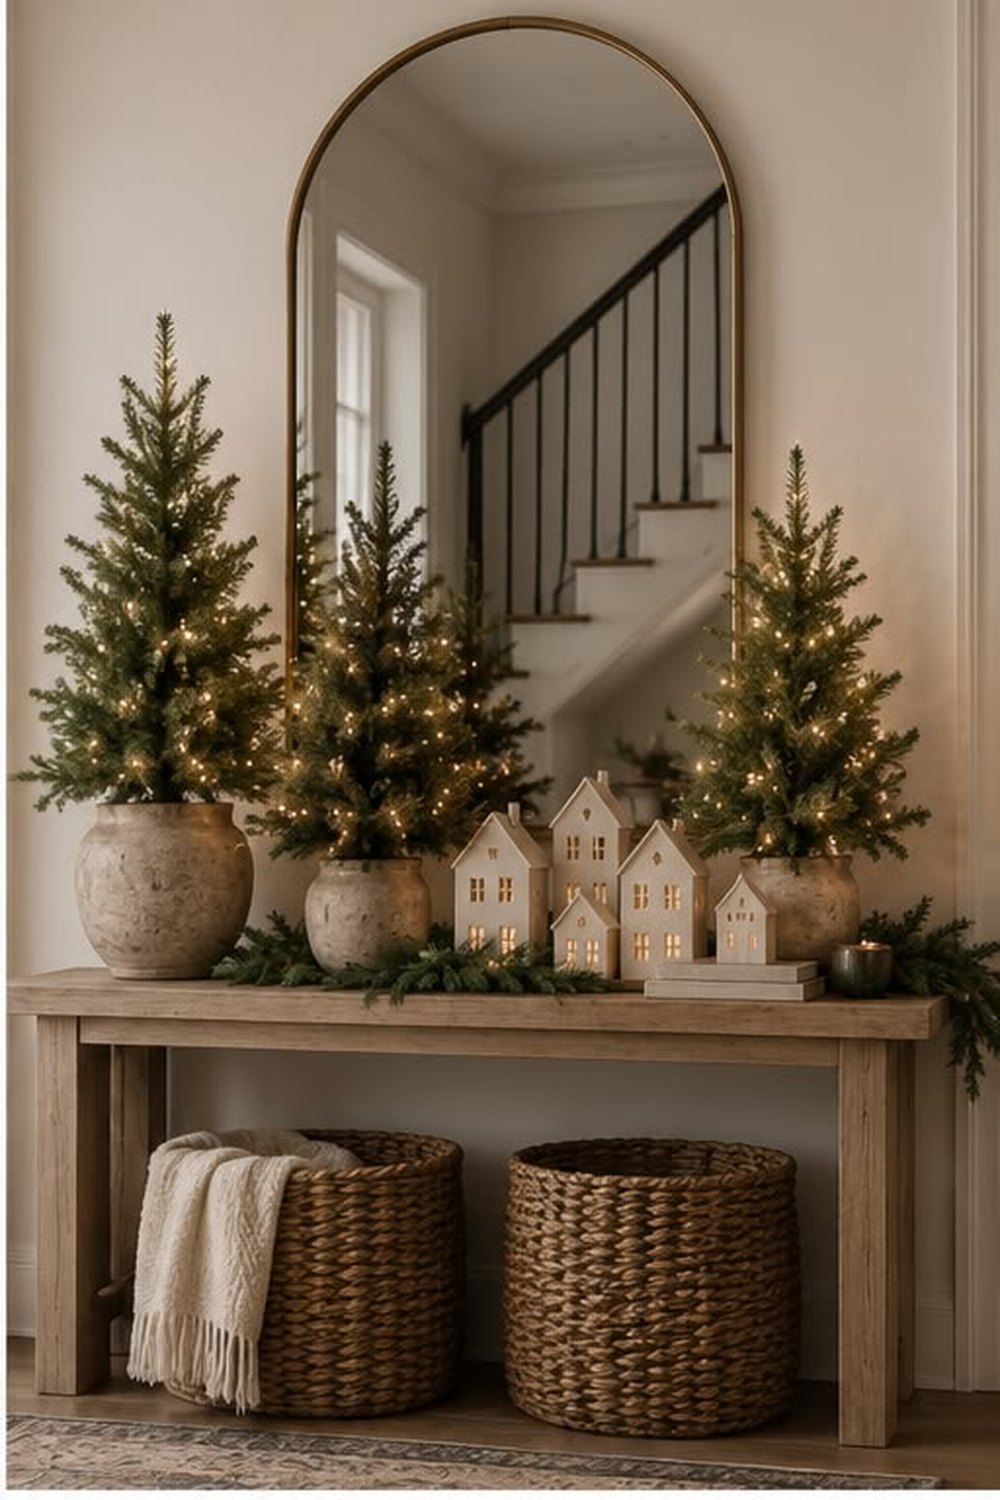
The console at the foot of the stairs repeats the garland's colours — the scheme lands gracefully.
Dress the hallway console or side table where the stairs begin with a small echo of the staircase itself: a short run of the same garland along its back edge, a bowl of the same baubles, the same ribbon on a candle or a wreath above the mirror. Guests read it as one designed scheme from door to landing, built from repetition rather than more purchases.
Styling tip: echo, do not duplicate — two or three shared elements are enough. If the console carries the full garland, bows, lights and baubles at once, it competes with the staircase instead of introducing it.
32. Classic Red and Green: The Traditional Staircase
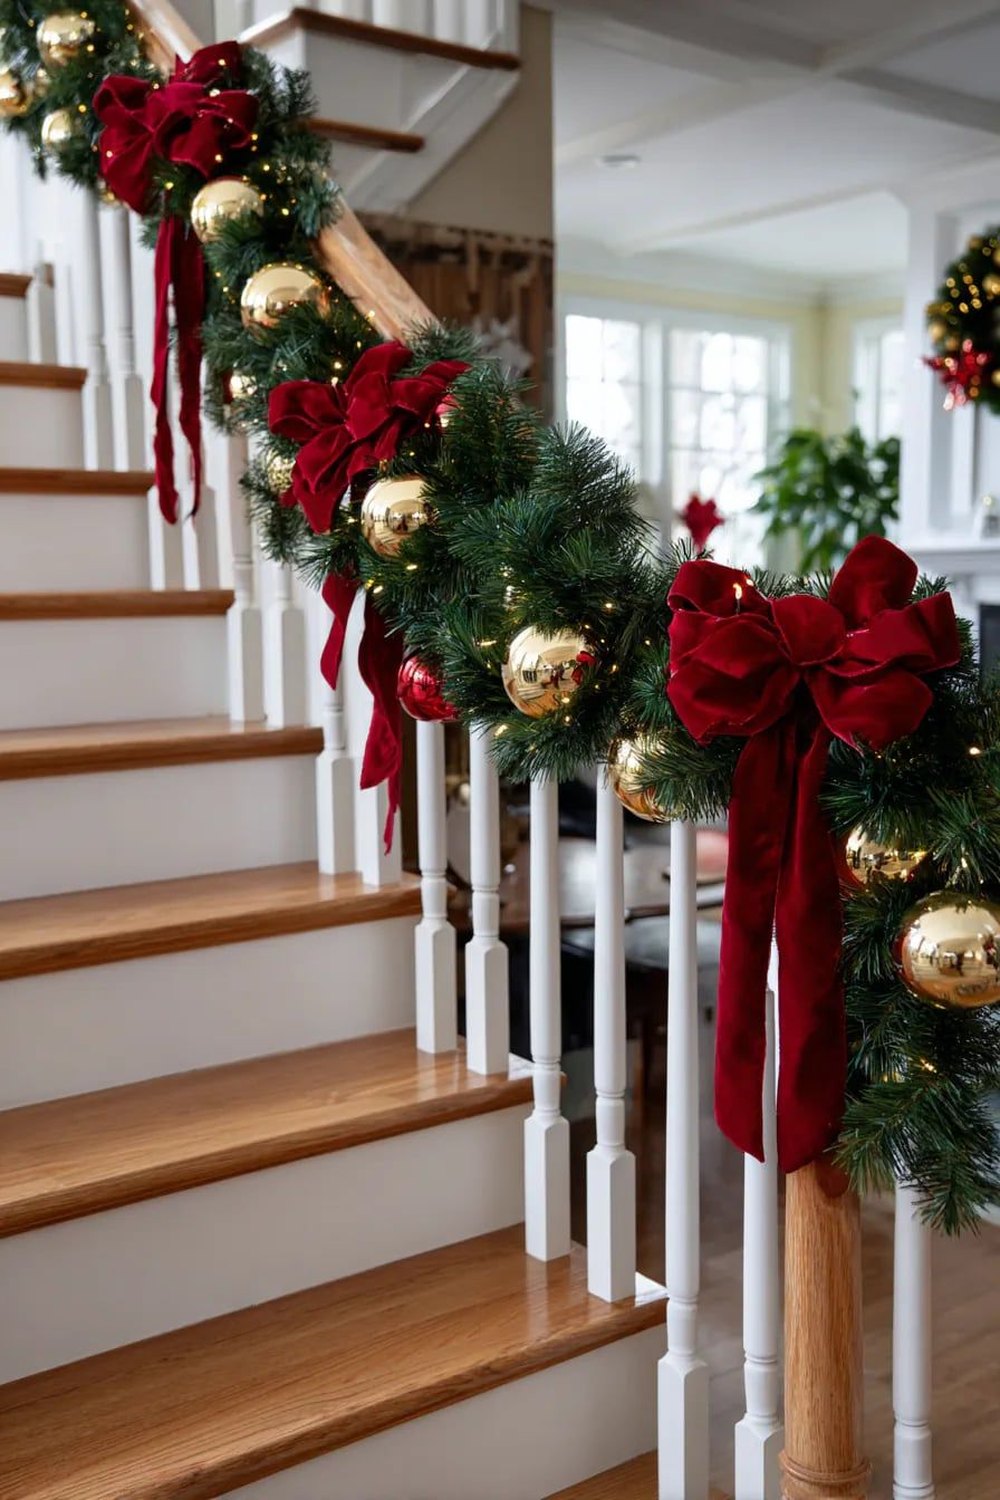
Deep green, true red, touches of gold — the staircase from every childhood Christmas.
The traditional colour story suits the staircase better than any room: a deep green garland, red velvet bows at the swags, red and gold baubles woven through, plaid ribbon if you want pattern. Against white spindles and wood treads it is unmistakably, joyfully Christmas, and it is the easiest scheme to build from decorations most families already own.
Styling tip: let green dominate, red punctuate and gold glint — roughly those proportions keep tradition elegant. When everything is red, the garland disappears; the bows and baubles should read as jewels in greenery, not rivals to it.
33. Winter White and Gold: The Glamorous Staircase
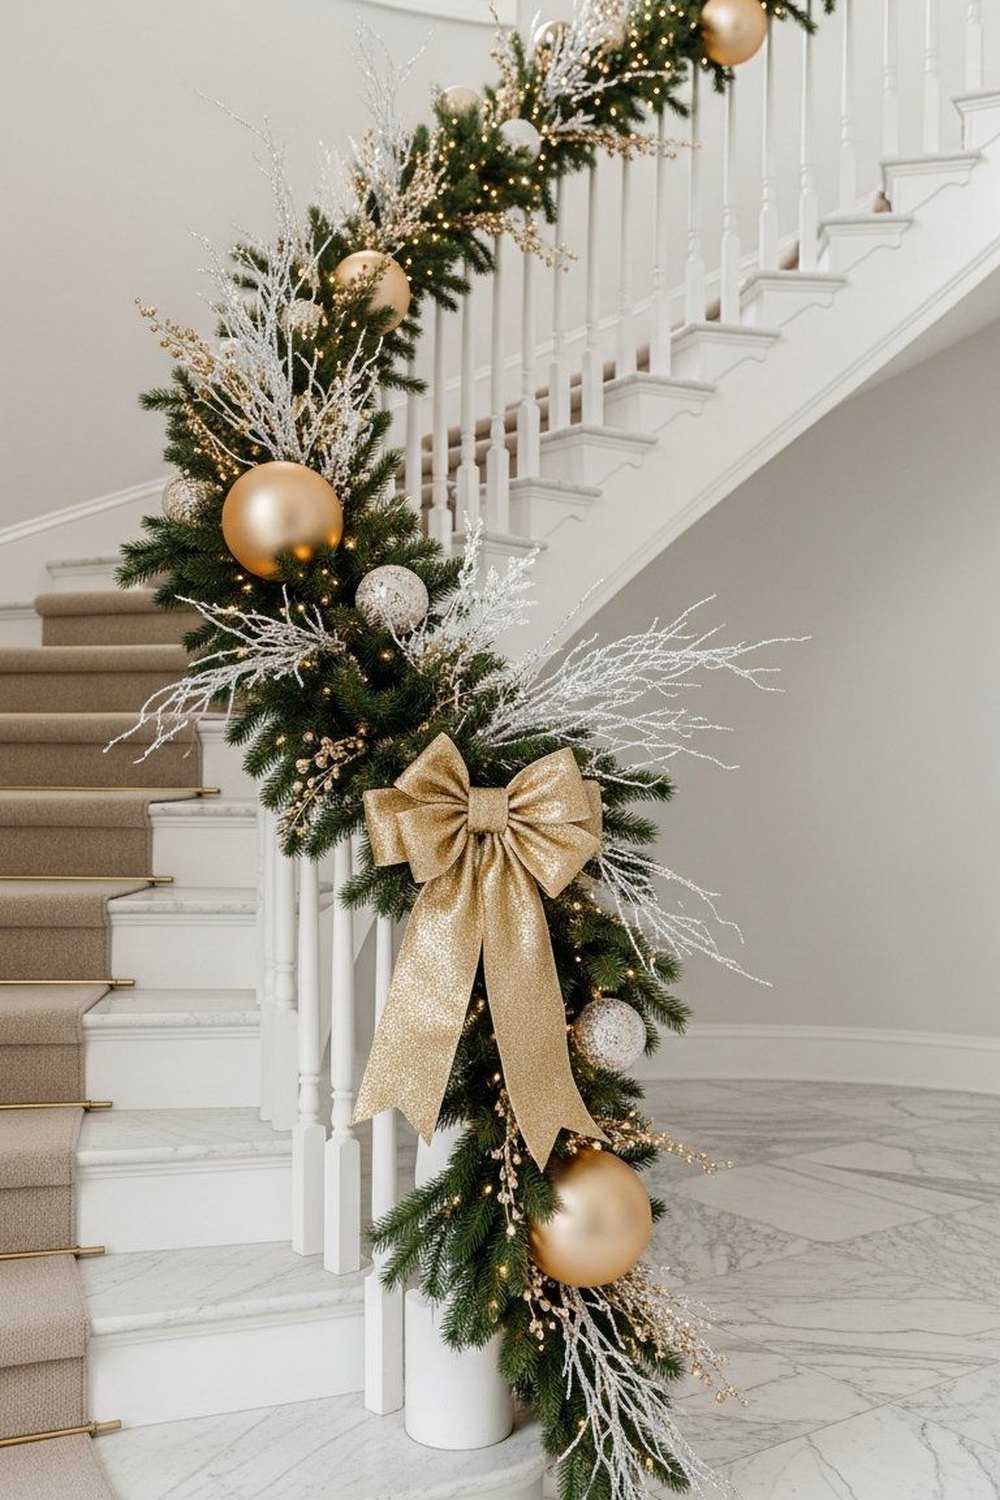
Cream, champagne and gold on frosted green — the staircase dressed for a ball.
For a glamorous hallway, build on a flocked or pale-green garland and dress it entirely in cream, ivory, champagne and soft gold: matte and satin baubles, a wide champagne ribbon, warm white lights. The staircase turns bright and formal, photographs beautifully in daylight, and pairs with the winter white scheme of a neutral living room without repeating it exactly.
Styling tip: mix your golds — brushed, satin and a little glitter — but keep every one of them warm-toned. Cool silver against cream flocking reads grey; warm metallics keep the whole flight glowing like candlelight.
34. Rustic Woodland: Plaid, Pinecones and Twine
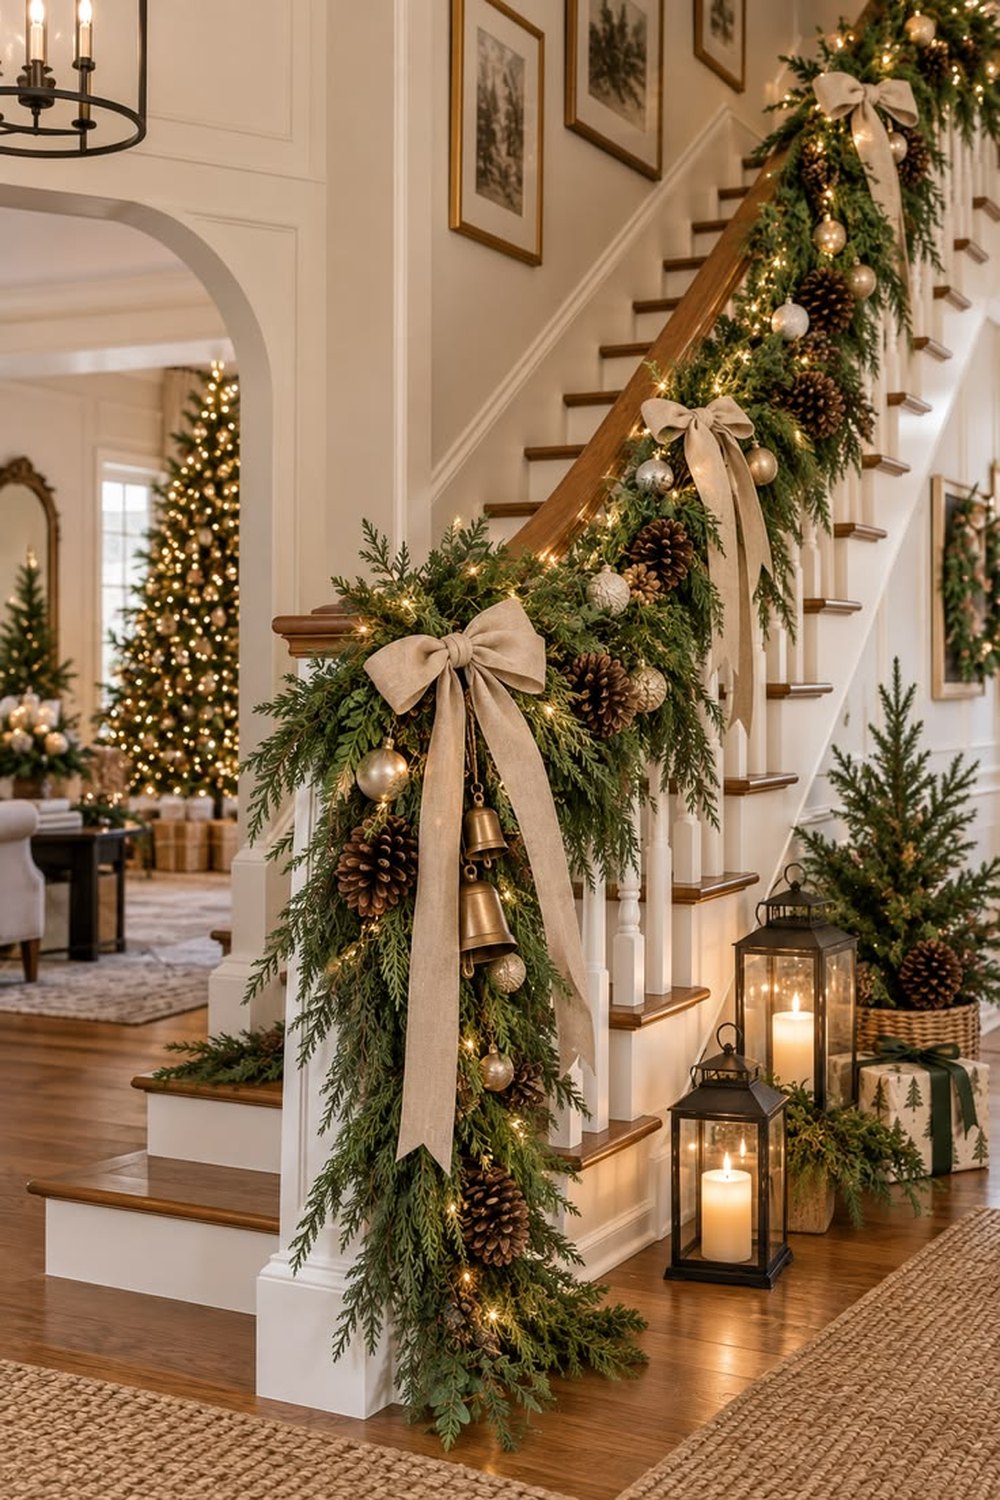
Pinecones where the baubles would go, plaid where the velvet would be — Christmas from the cabin.
The woodland story swaps shine for texture: a natural pine or mixed-forest garland, pinecones and berries wired in, plaid flannel bows, wooden bead strands and dried orange slices for warmth. It suits wood banisters and country hallways perfectly, forgives imperfection — the more gathered it looks, the better — and costs the least of the three colour stories.
Styling tip: add one soft textile to the hardness of all that wood and cone — a plaid throw in the basket at the foot of the stairs, or a wool runner on the hall floor. Rustic schemes feel cold until fabric arrives.
35. The Safe and Finished Staircase: The Final Walk-Through
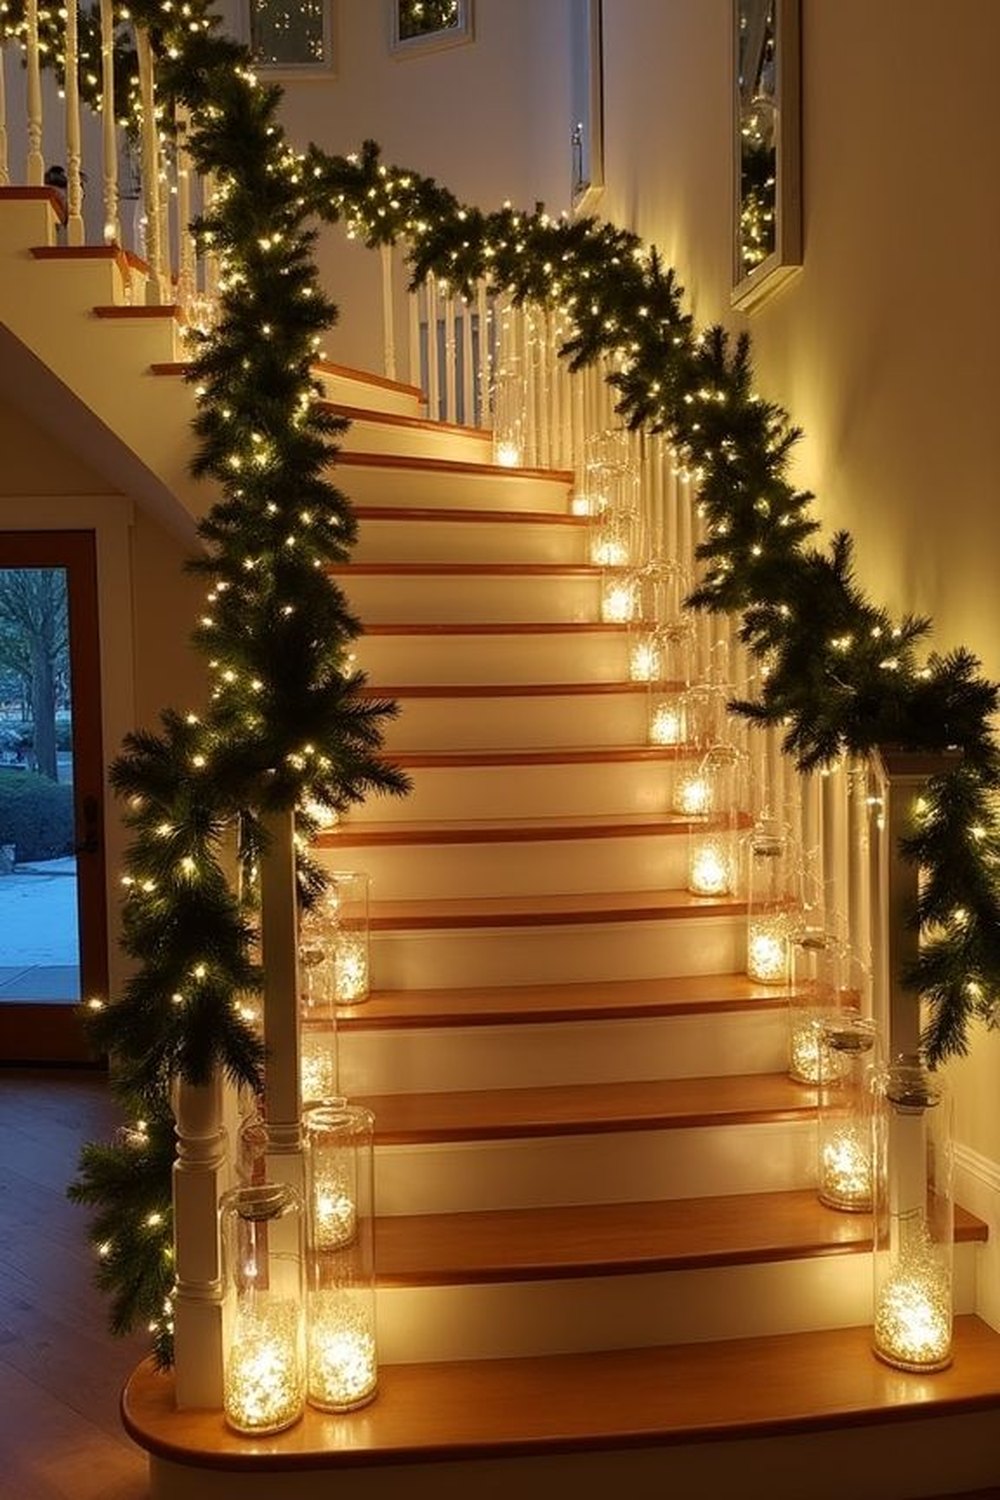
The last styling step is a slow walk up your own stairs, hand on the rail, eyes open.
When everything is hung, do the stylist's final pass: walk the flight slowly at dusk. Your hand should glide the full rail without meeting greenery; the treads should be bare; every light should be battery or safely routed; lanterns and pots should hug the wall with the walking line wide and obvious. Then check the view from the front door — that is the picture your guests get, and it should be all garland, glow and welcome.
Styling tip: do the walk-through again a week in, when ribbons have slipped and flocking has drifted, and once more before guests arrive. A staircase scheme is finished not when it is hung, but when it stays beautiful — and safe — under real family traffic.
Essential Decor Takeaways
- The banister is a ready-made frame: garlands in swags or a neat spiral turn the staircase into the house's showpiece with no renovation at all.
- Safety is the staircase's first rule: garlands live on the rail's outer face or underside, the top of the handrail stays clear for hands, and treads stay completely bare.
- Every candle on or near stairs is flameless, on a timer. Battery fairy lights woven deep into the garland give the glow with no cables anywhere near feet.
- Repeat one thing for rhythm: identical velvet bows at each swag, a bow on every spindle, lanterns in a dotted line — repetition is what makes staircase styling look designed.
- Use the architecture you have: the newel post takes a wreath or a statement bow, the landing takes a slim tree or a quiet corner, the wall takes wreaths, galleries and paper stars climbing the slope.
- Steps hold styling only on wide flights, always in a narrow strip against the wall — otherwise the same lanterns, mini trees and jars belong at the foot and the landing.
- Choose one colour story — classic red and green, winter white and gold, or rustic woodland — and let the hallway console echo it lightly so the whole entrance reads as one scheme.
Frequently Asked Questions
What are the best christmas staircase decor ideas for a small or narrow staircase?
Choose the slim spiral garland wound neatly along the rail, bows on the spindles, a wreath on the newel post and paper stars or a climbing trio of wreaths on the wall. Keep the steps completely bare and put lanterns and baskets at the foot and landing instead. Narrow staircases look wonderful decorated vertically — rail, wall and posts — because nothing narrows the walking line.
How do I attach a garland to the banister without damaging it?
Use soft ribbon ties, floral wire padded with a twist of fabric, or removable banister ties made for garlands, fixed at intervals to the spindles or the rail's underside. Avoid nails, screws and strong adhesives on wood. Work swag by swag, tying as you go, and keep every fixing on the outer face or underside so the top of the handrail stays smooth and clear for hands.
Is it safe to put candles and lanterns on the stairs?
Only flameless ones. Real flames should never sit on a flight of stairs. Flameless LED candles and lanterns on timers give the same dotted-line glow with no fire risk, and they belong only on wide steps, tight against the wall, with the walking path kept generously clear. On standard-width stairs, place lantern clusters on the floor at the foot and on the landing instead.
How much garland do I need for my staircase?
Measure the handrail's length, then multiply by about one and a half for swagged garlands — the dips use more length than the straight run — or by about one and a quarter for a neat spiral wind. Buy a little extra rather than a little less: leftover garland dresses the landing rail and the hallway console, and running short mid-flight is the one mistake you cannot hide.
A decorated staircase changes the whole feeling of coming home in December: the door opens onto green swags, warm light and a welcome that climbs through the house. Save your favourite christmas staircase decor ideas from this list, start with one garland and a roll of velvet ribbon, and let the scheme grow landing by landing. For more seasonal inspiration, follow TheStylingHub on Pinterest, where we pin fresh garland, tree, mantel and colour-story ideas all season long.